Unless it’s a long haul flight where the duration of the flight exceeds the strength of my middle-aged bladder, I always prefer a window seat. I never get tired of watching the ever-changing, terrain, identifying cities and landmarks from above, and trying to figure out where exactly the plane would be on a map.
I’ve always enjoyed snapping photos from my window seat with my smartphone. Early on, most my photos were crap. Even though Verizon has kept me supplied with some of the latest and greatest smartphones I’ve had to learn from my mistakes. Over the years I have slowly been able to up my game. Here are my 7 tips for taking amazing photos from the window seat with your smartphone.
1. Dress for success
Depending on which side of the plane you’re on, the time of day, and the lighting inside the plane, there is almost always some kind of glare or reflection on the window that can mess up your shot. On the way to Alaska, I took what I thought were some pretty cool photos of Mt. Rainer in Washington. After loading the photos on my laptop, I discovered the reflection of my blue and white checked shirt all over the snow-capped mountain. I’ve found that I can minimize glare and reflection with a combination or wearing dark, solid color clothing and by positioning my body to block whatever light source is interfering with my photo.
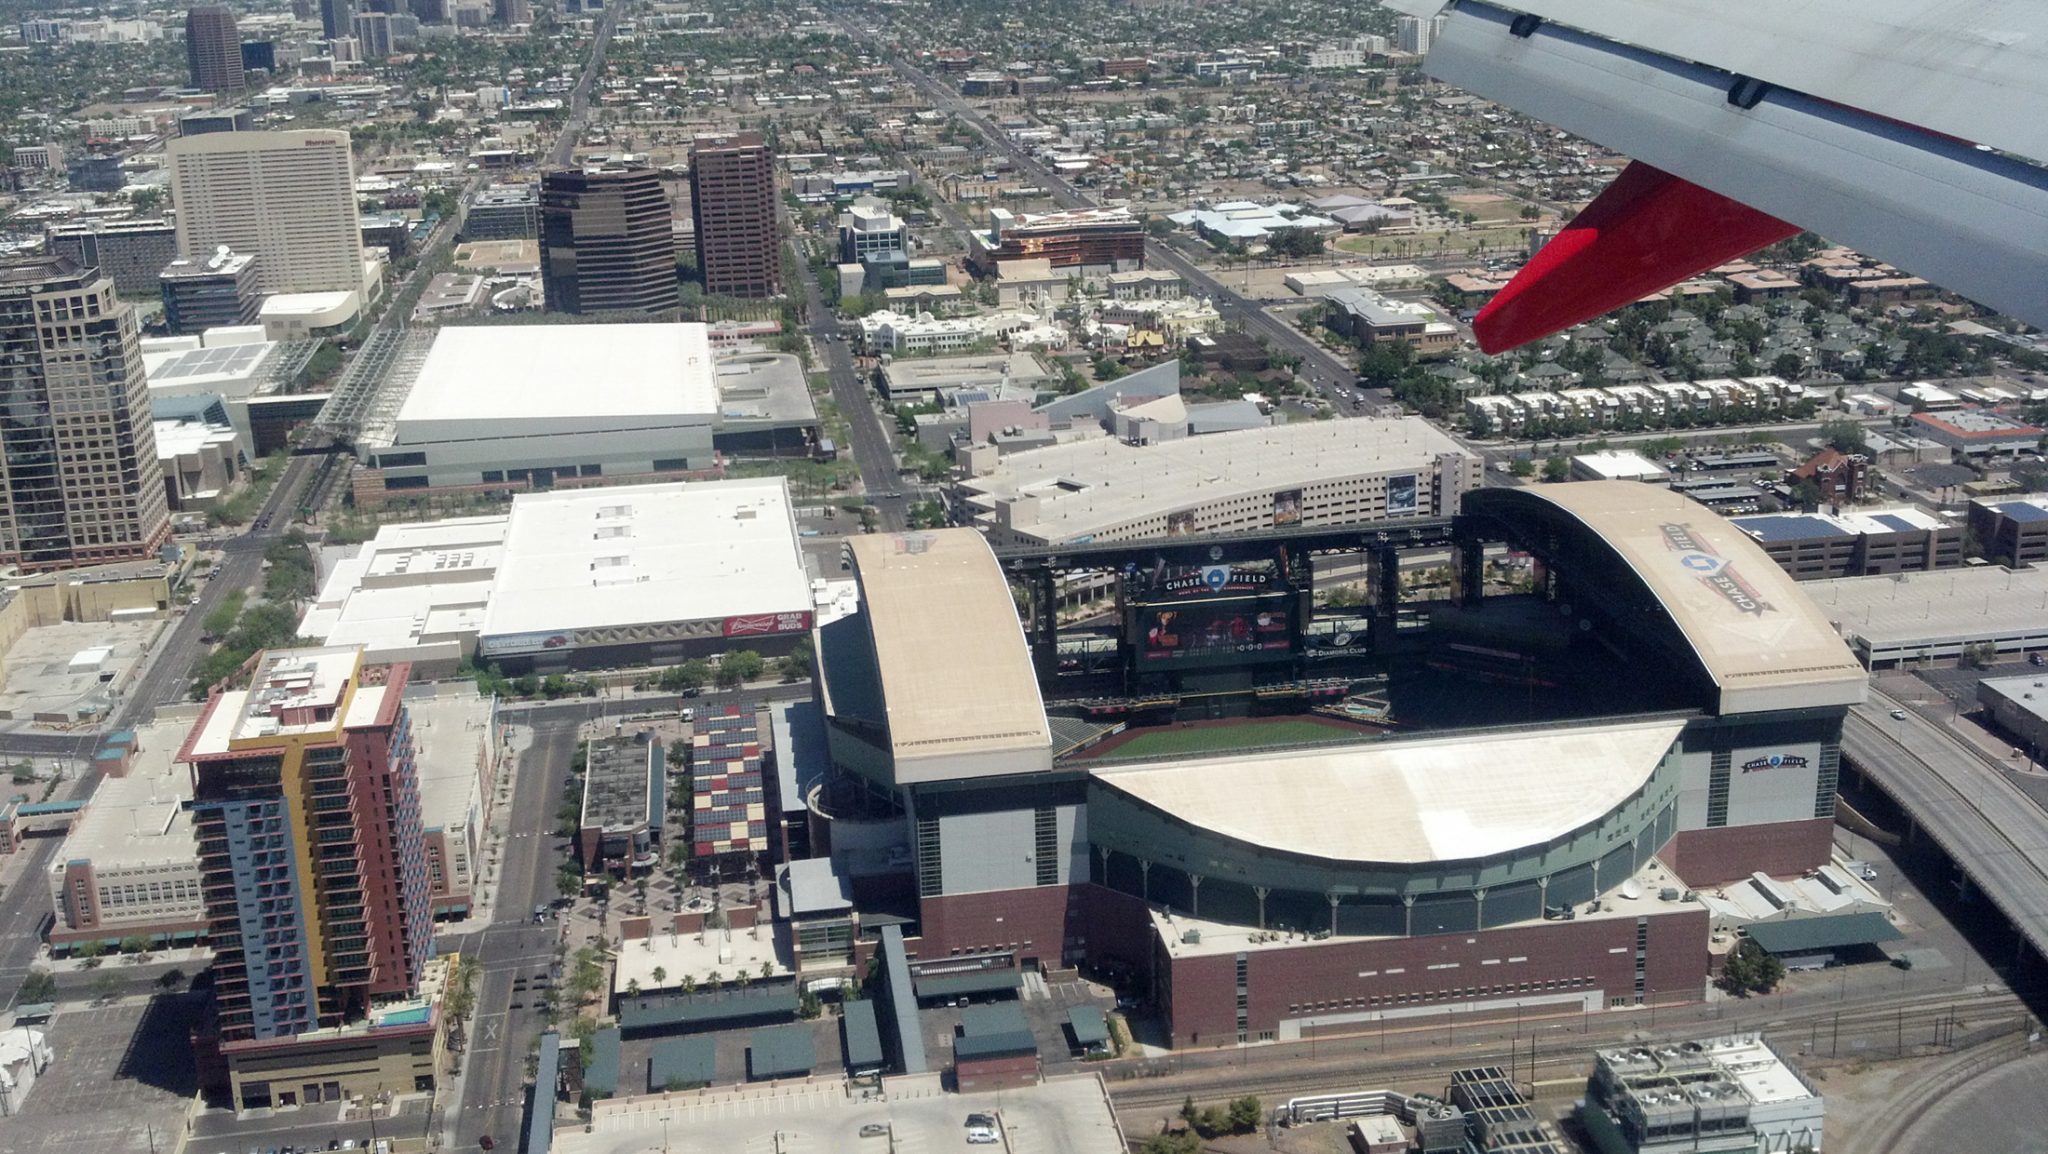
Coming in for a landing in Phoenix, Arizona.
2. Charge up
Make sure your smartphone is fully charged and turned on prior to takeoff. One time when I was flying out of San Francisco (SFO) I had turned my smartphone off in order to save the battery just prior to departure. When we took off to the north, I had the most amazing view of the city and the Golden Gate Bridge on a clear, sunny day. It would have made the most incredible picture but the time my phone booted up, the plane had turned west and I missed a great photo opportunity. I’m still sick about that one.
 Flying into Miami
3. Takeoff and landing
Your best opportunity for taking good photos is during takeoff and landing. Being closer to your subject and not having to shoot through as many layers of fog, smog, or haze will give you a clearer shot. As a good rule of thumb for takeoff, have your camera on and ready to shoot. For landing, turn your camera on when the flight attendant makes the announcement for people to put away their laptops.
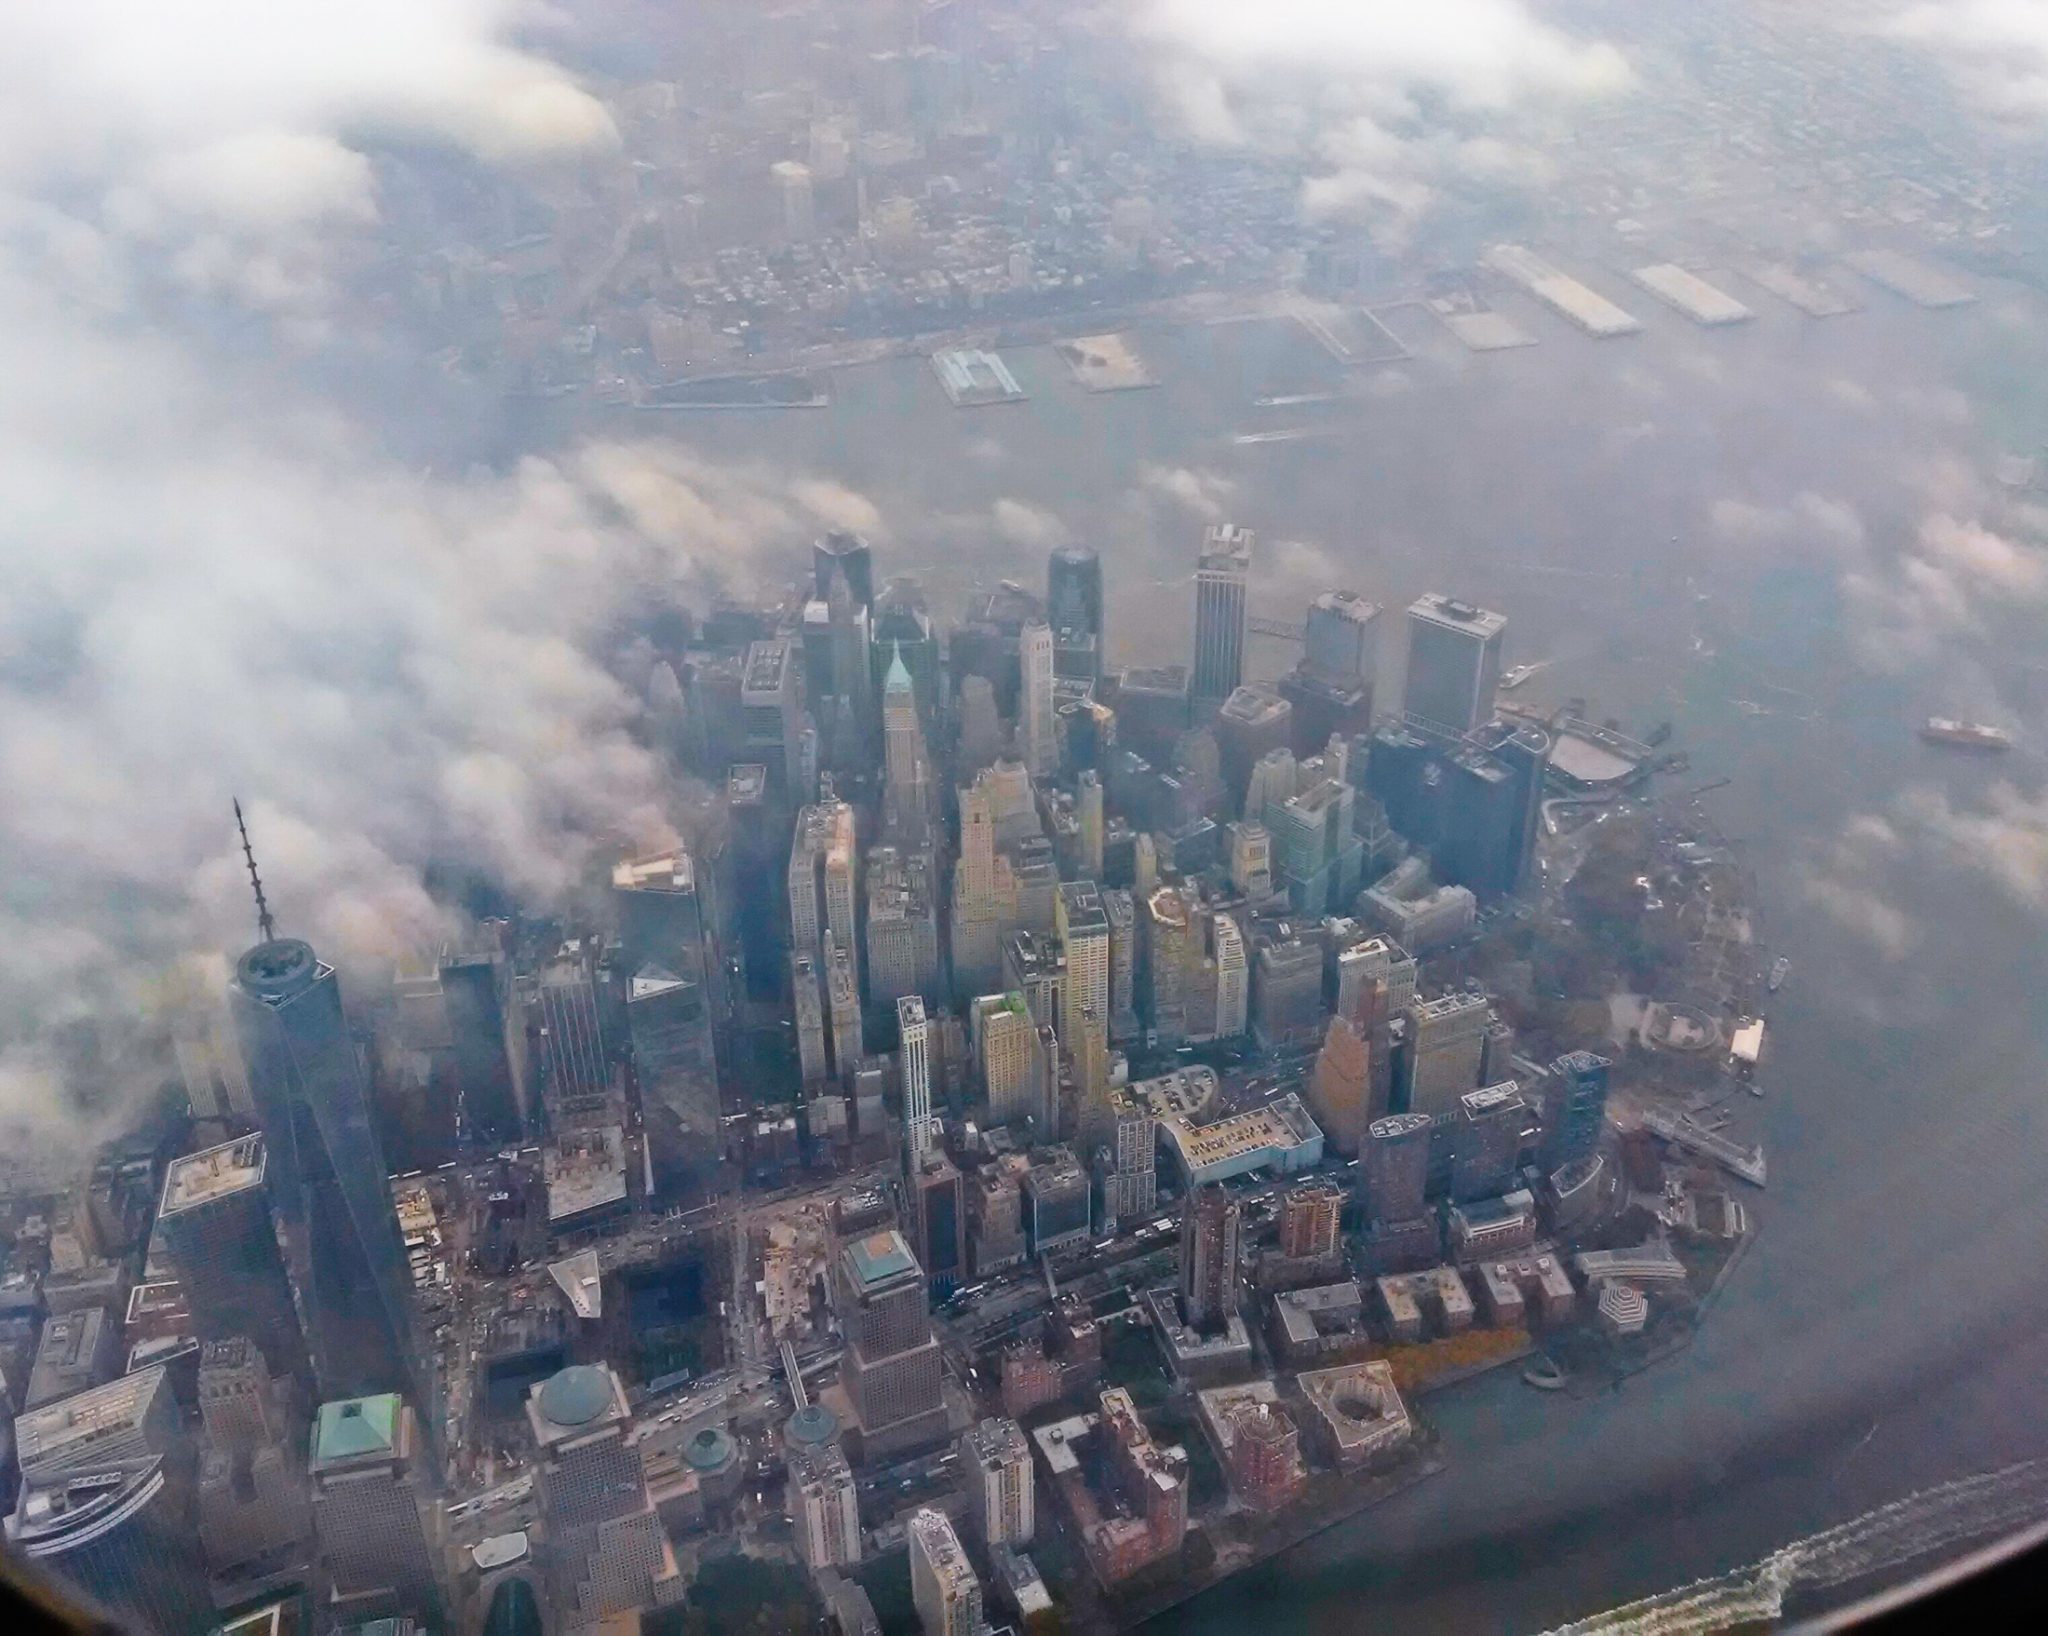
Flying over Manhattan
4. Know your flight path
Knowing which side of the plane to sit on can make all the difference in the world. On a flight from San Antonio to Las Vegas the pilot announced that there was a spectacular view of the Grand Canyon for those seated on the right side of the plane. I was seated on the left side. Had I bothered to check a map before booking my flight, I could have seen that the Grand Canyon would have been on the right of the plane assuming normal flight patterns and air traffic. Missed again! Also, if you’re one who likes to capture sunrises and sunsets, keep in mind the direction you’ll be flying so you’ll know which side of the plane to be on.
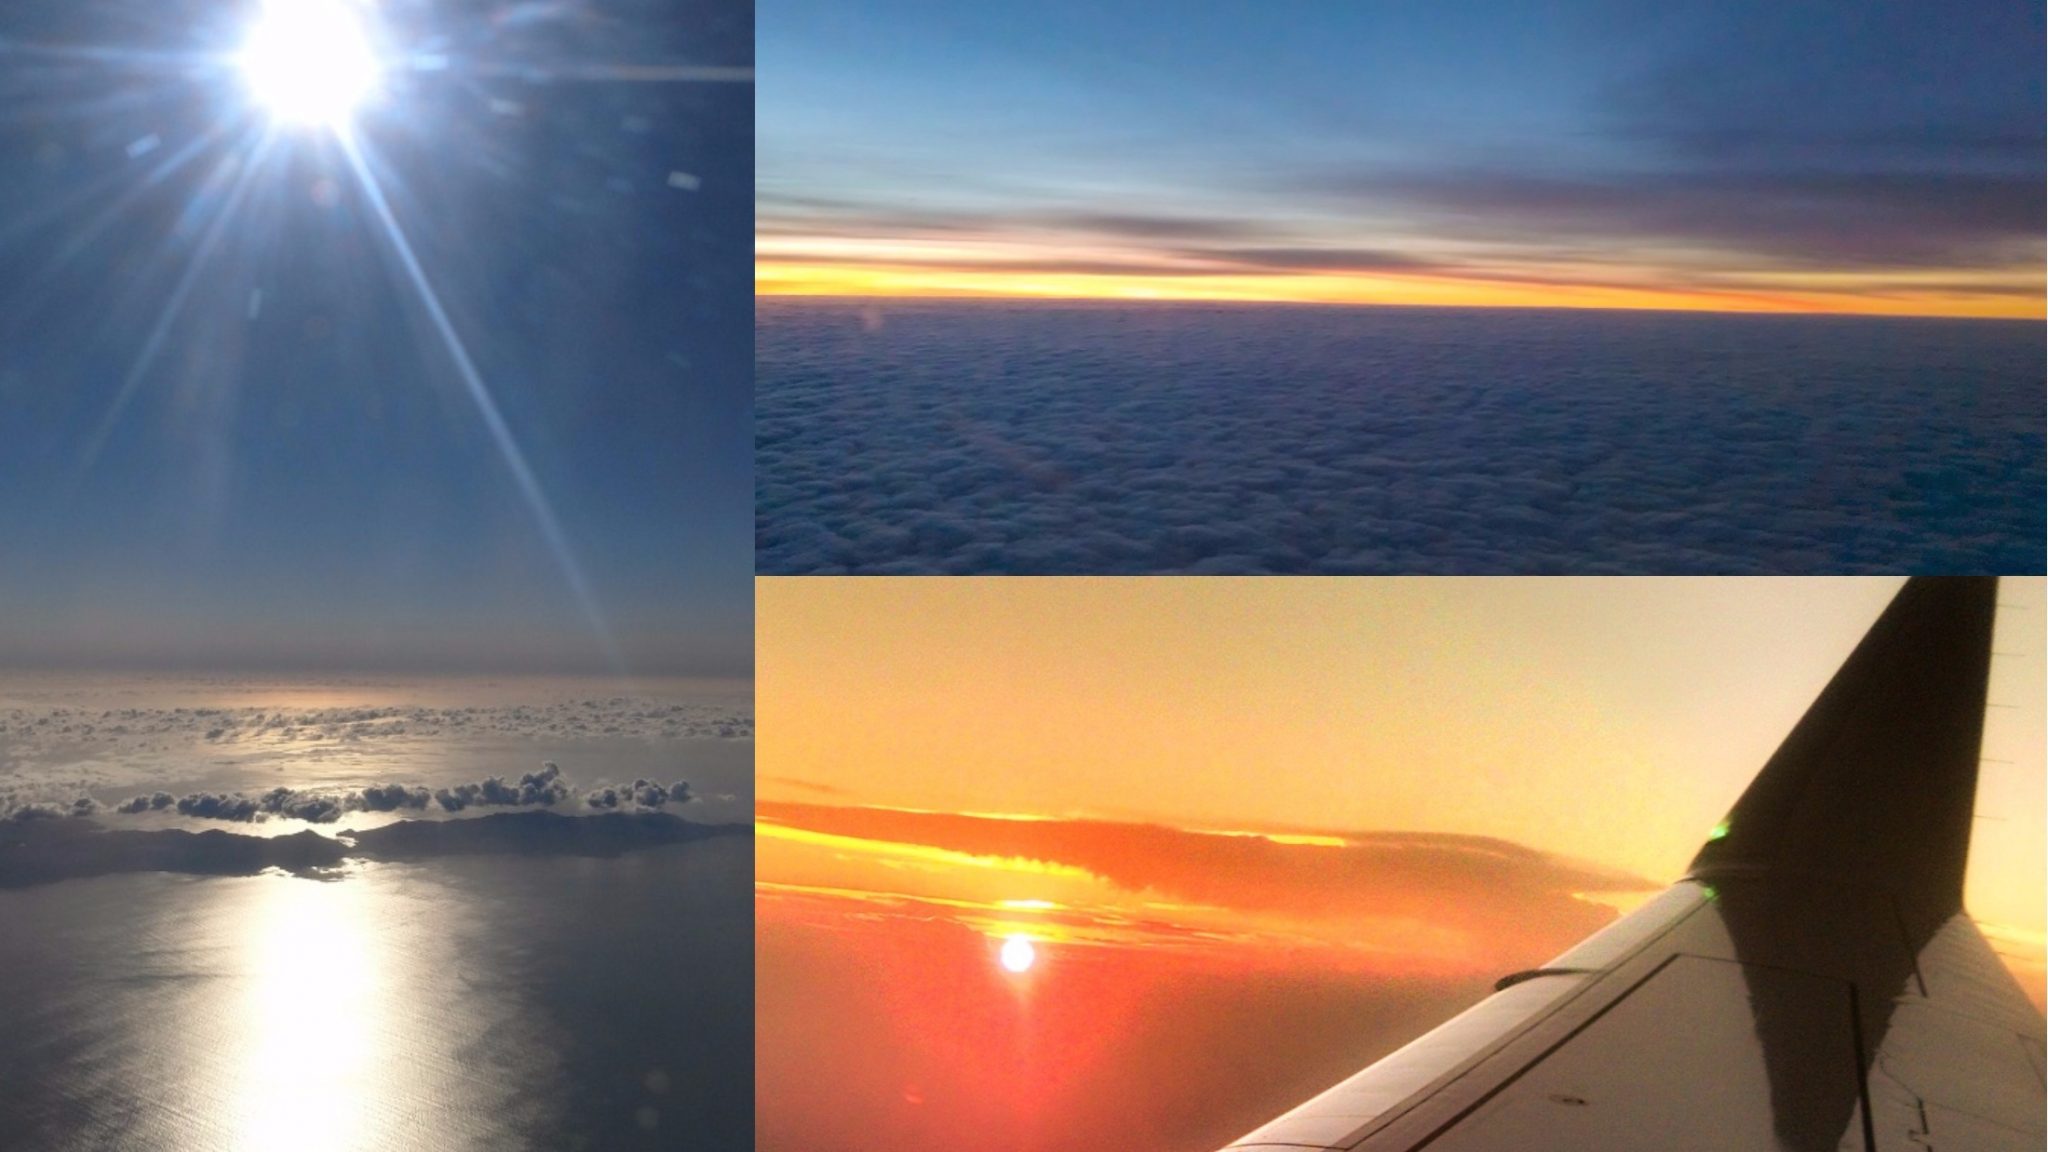
The window seat is a great place to catch a sunrise or a sunset.
5. Wing It
Getting a part of the plane’s’ wing in your photos often give the shot a little more drama and perspective. It can also help with framing the subject of your photo.
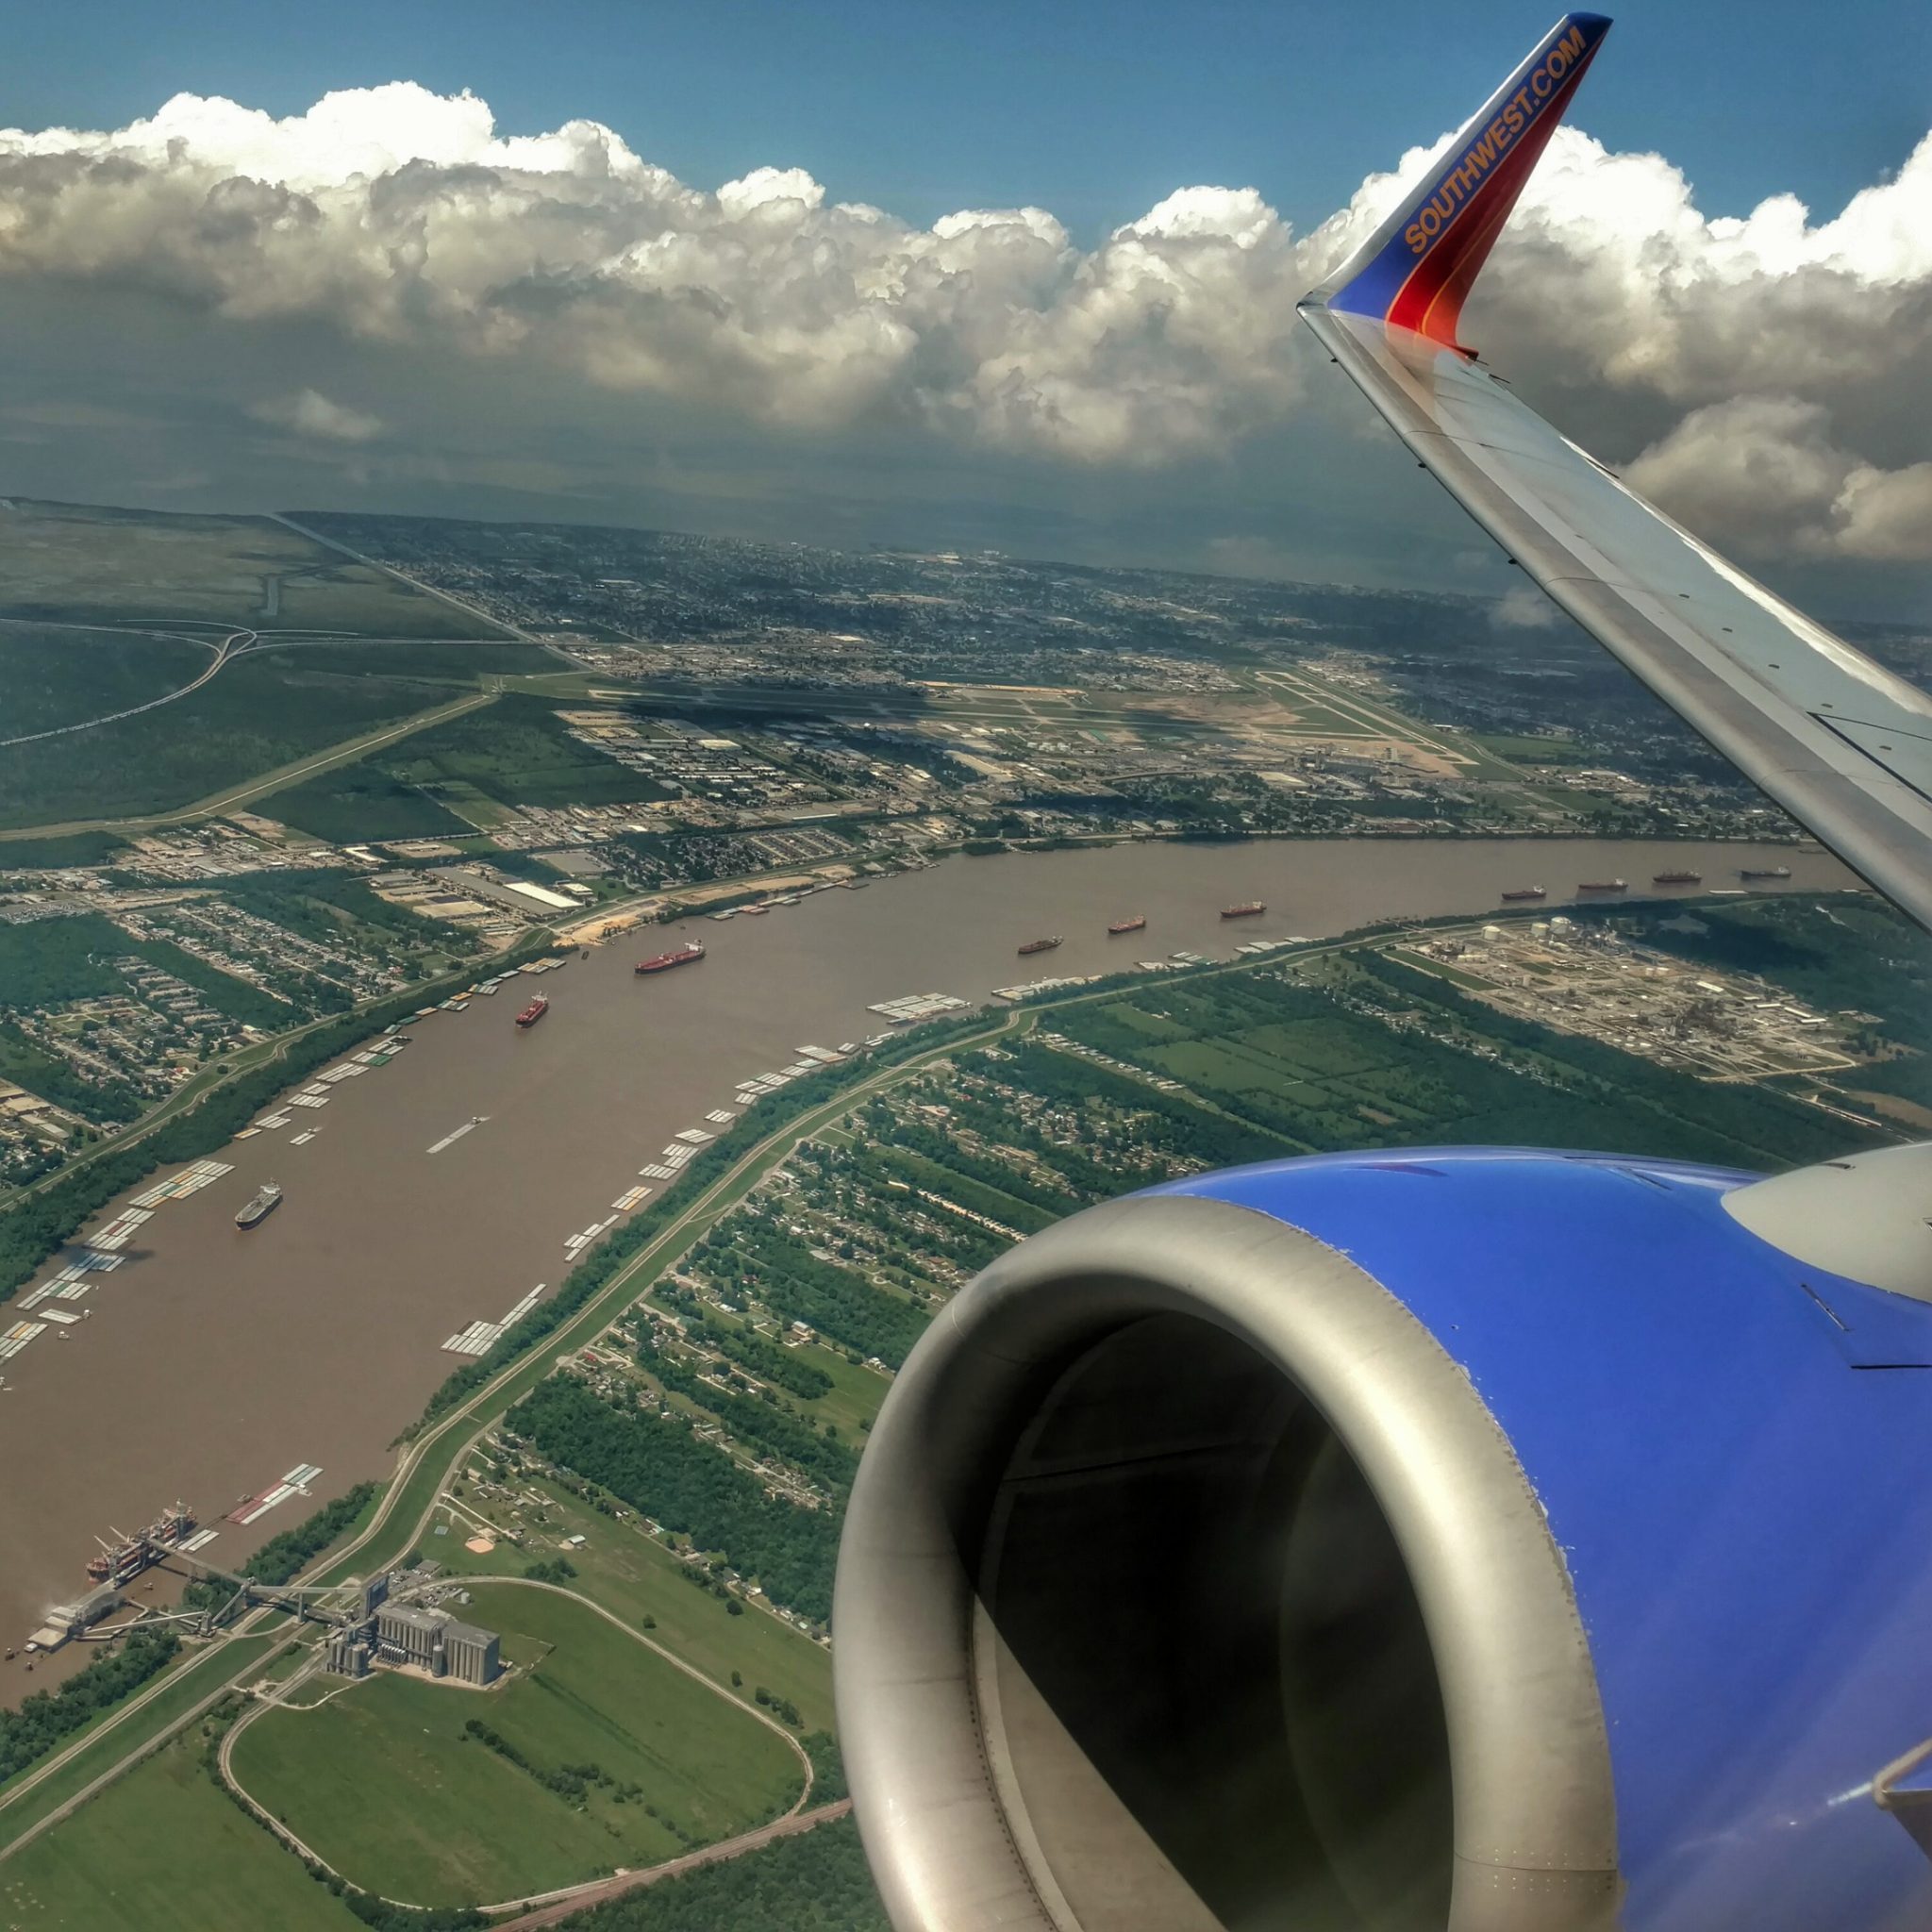
Flying over the Mississippi River
6. Limit digital zoom
When you are in an airplane you are usually pretty far away from your subject and there is a temptation to zoom in on it. The problem with digital zoom is that it tends to produce grainier photos (see my photos of Washing D.C. Below). I’ve found that I can get better photos by cropping a photo shot with a high megapixel rear camera than I can with digital zoom. Better yet, if you can get an optical zoom module for your smartphone, do it! It makes a HUGE difference. Here’s an article I wrote that show examples of the difference.
I’m currently using a Moto Force Z with a 21MP camera which has been awesome. Verizon recently provided me with a Hasselblad True Zoom Camera Mod for my smartphone. I can’t wait to try it out from the window seat!
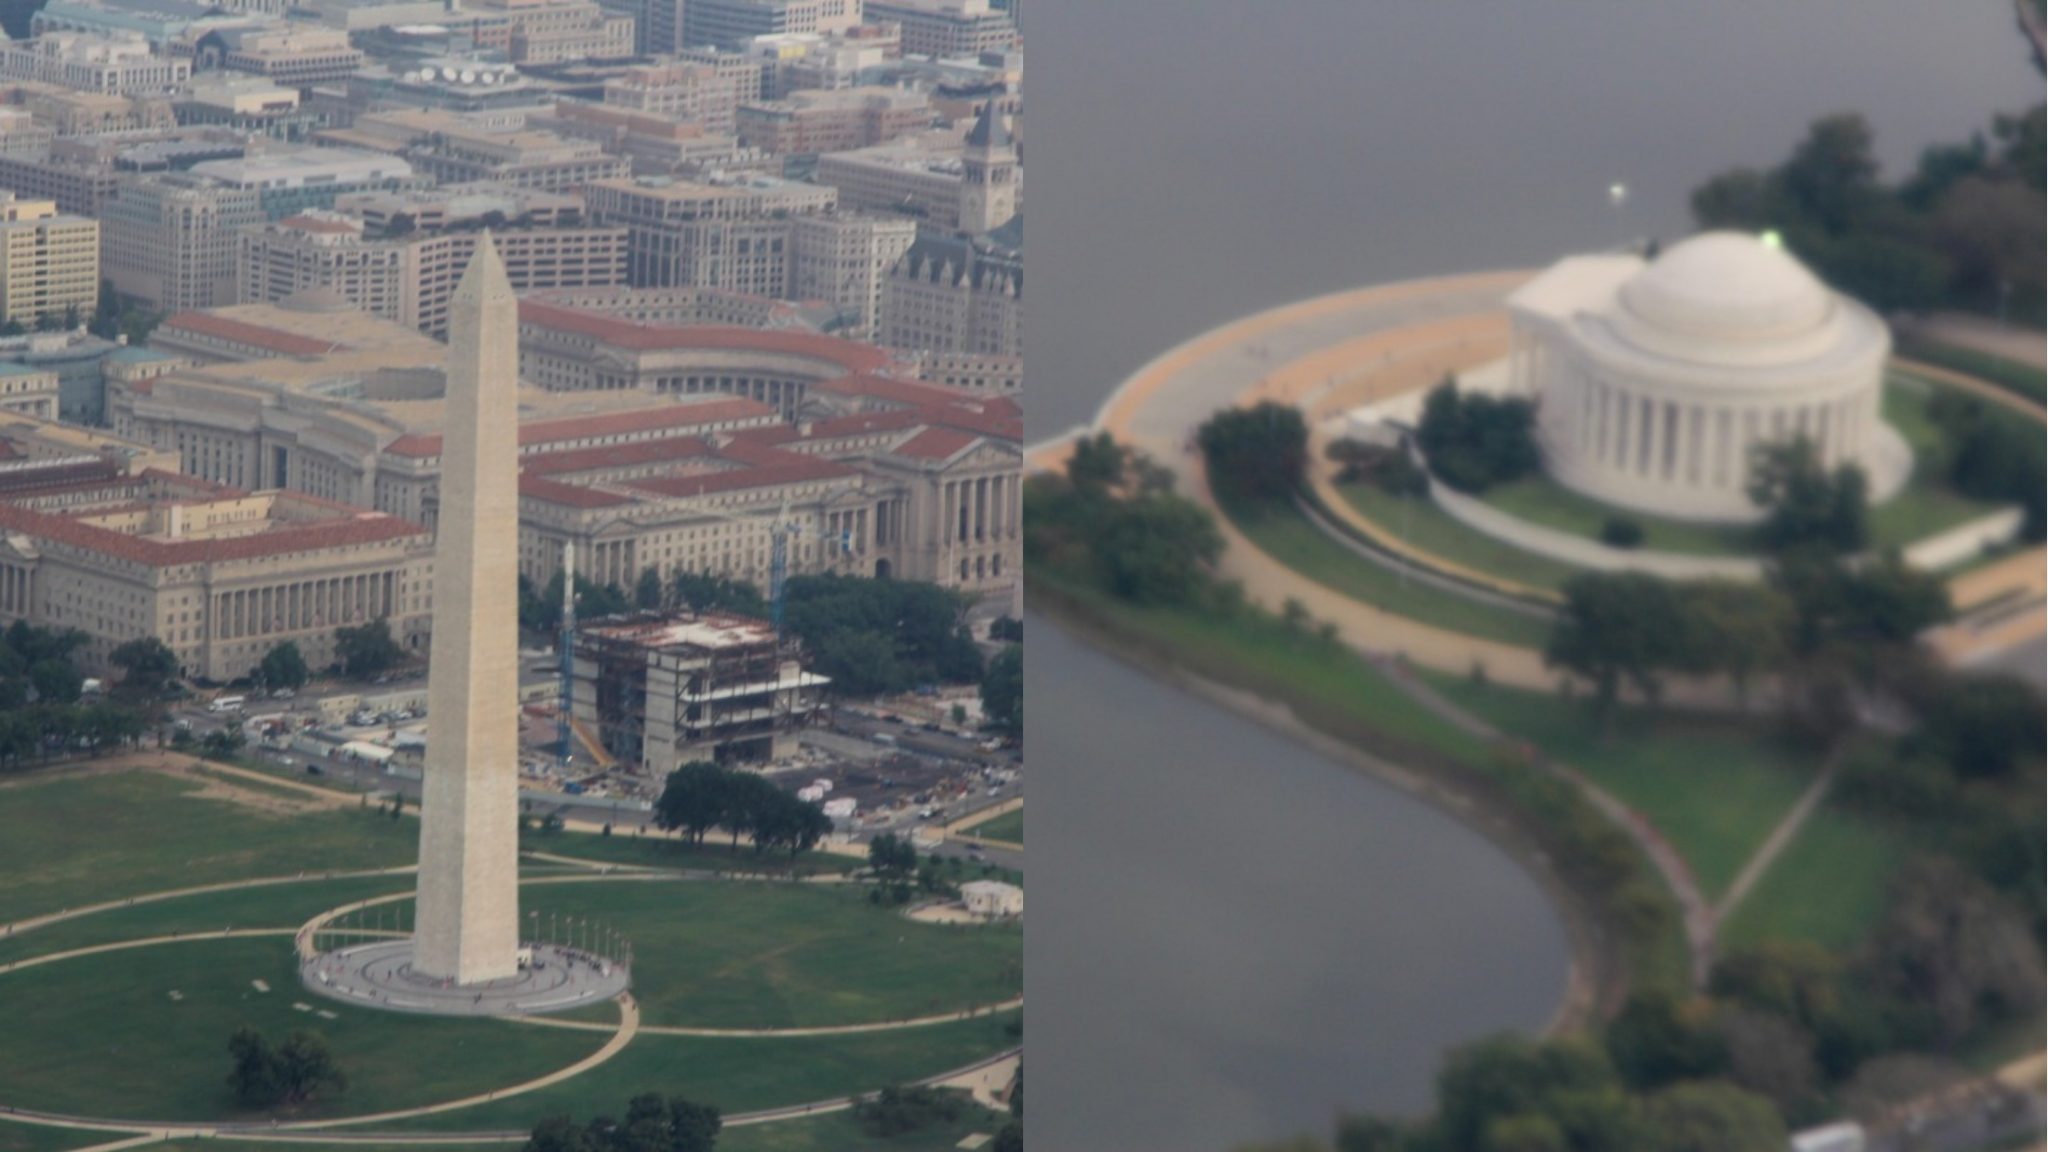
I shot these while flying into Ronald Regan Washington National Airport. The Washington Monument photo was taken without zooming, but was cropped later. The Jefferson Memorial photo was taken using my camera’s digital zoom – definitely not as good.
7. Share your photos
If you take your photos with the intent of sharing them across your social networks, you’re much more likely to take your time to frame your photo correctly and to be conscious of things like glare (see tip #1). We’d love for you to share some of your favorite window seat photos on our Facebook page. Here’s the link! Also, if you have any additional tips, please share them in the comments below. Thanks!!
Here are some more of my favorite photos taken from the window seat.
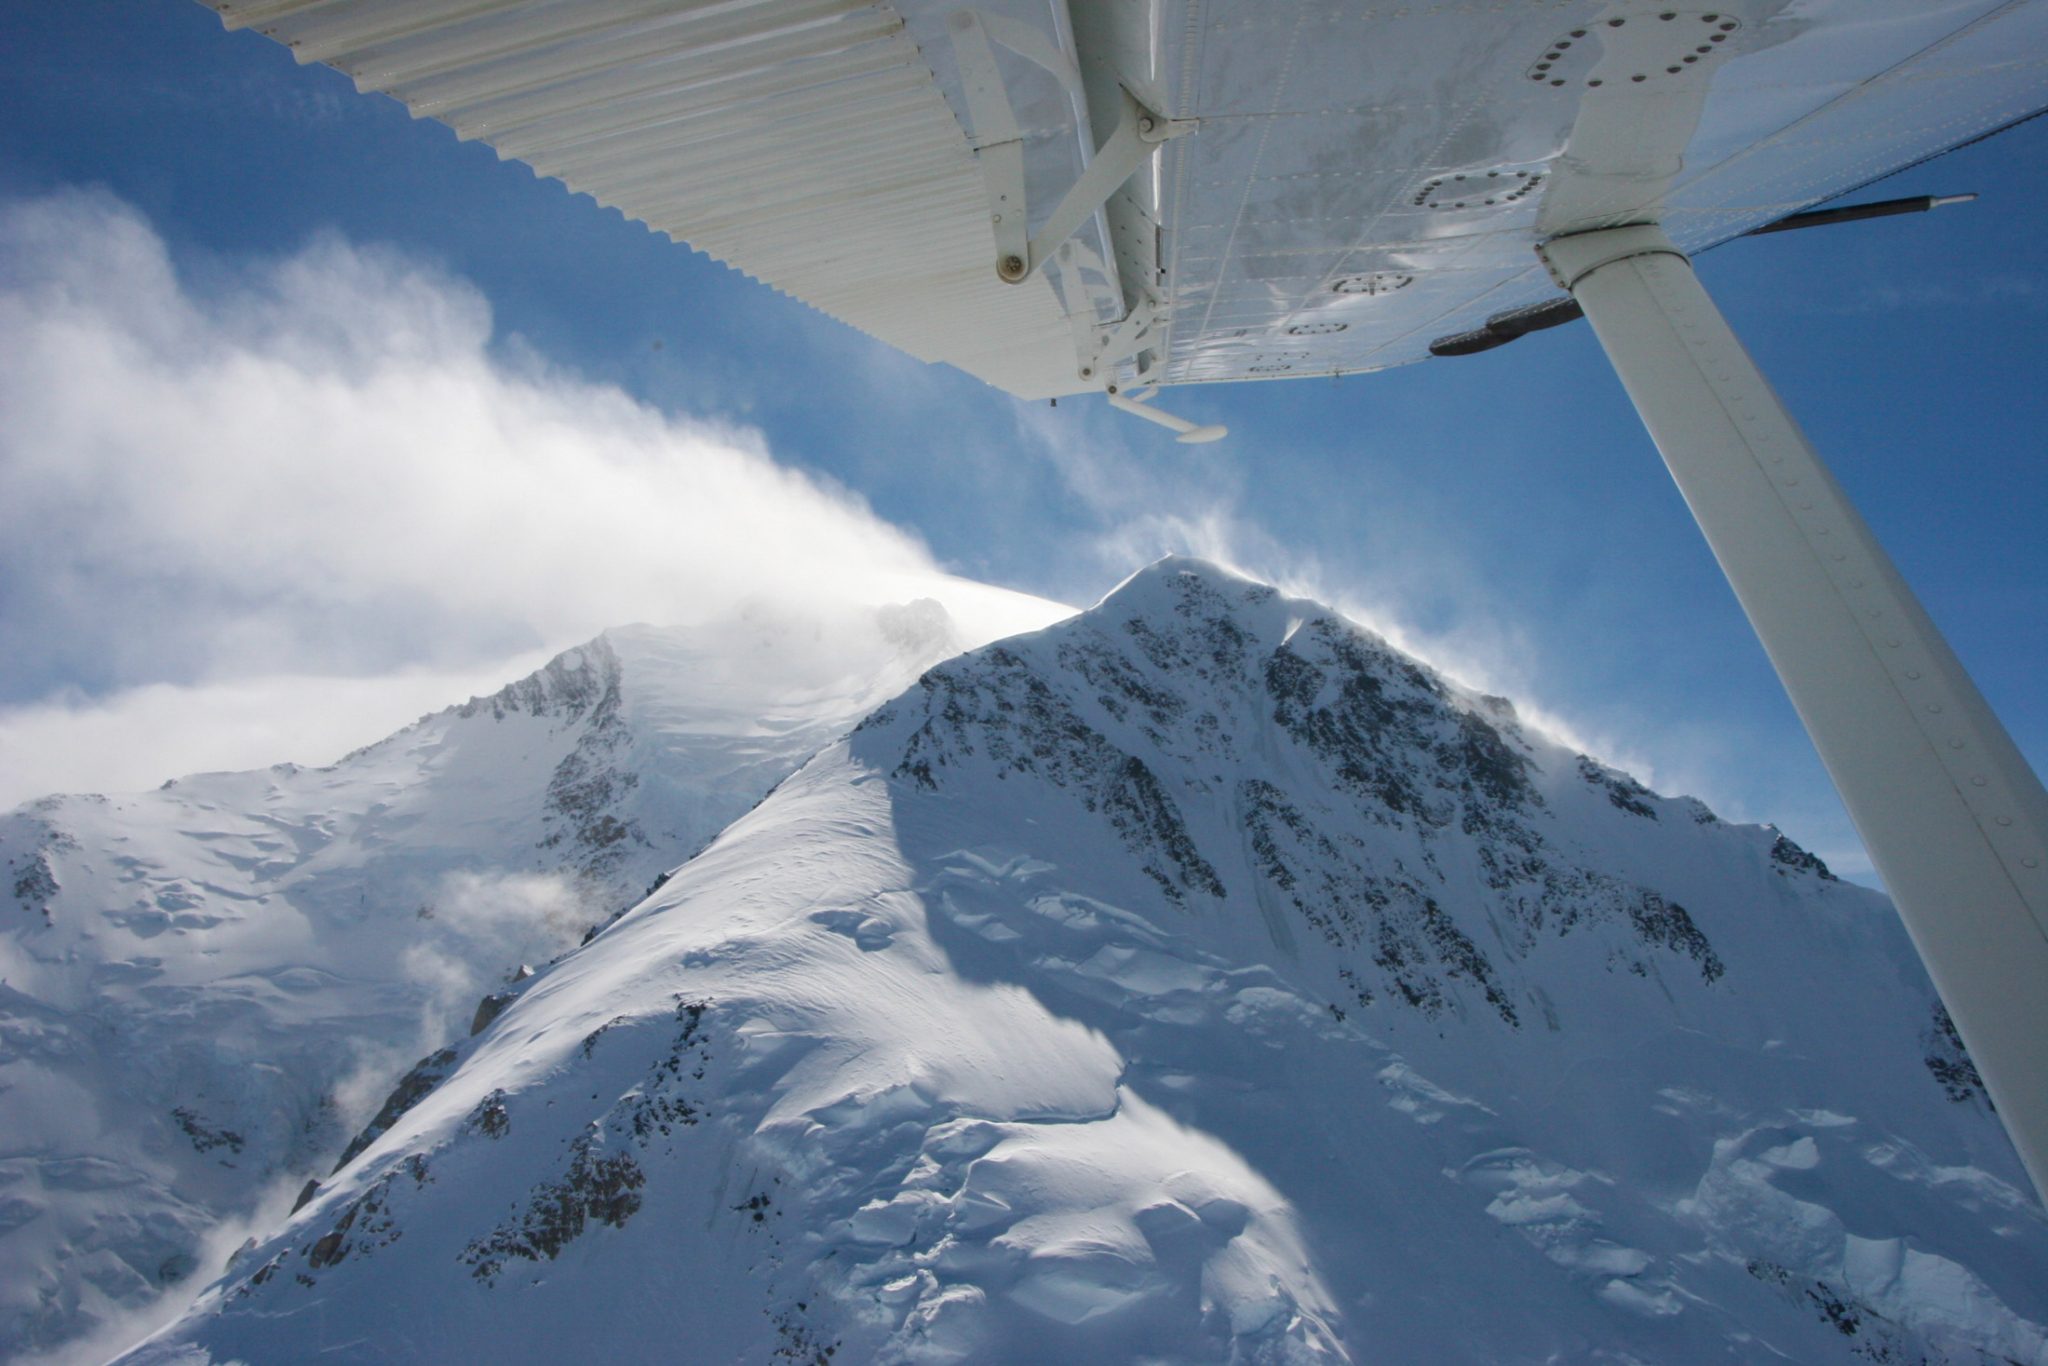
Flying by the summit of Mt. McKinley in Denali National Park

Looking up the Pacific coast while flying out of Los Angeles
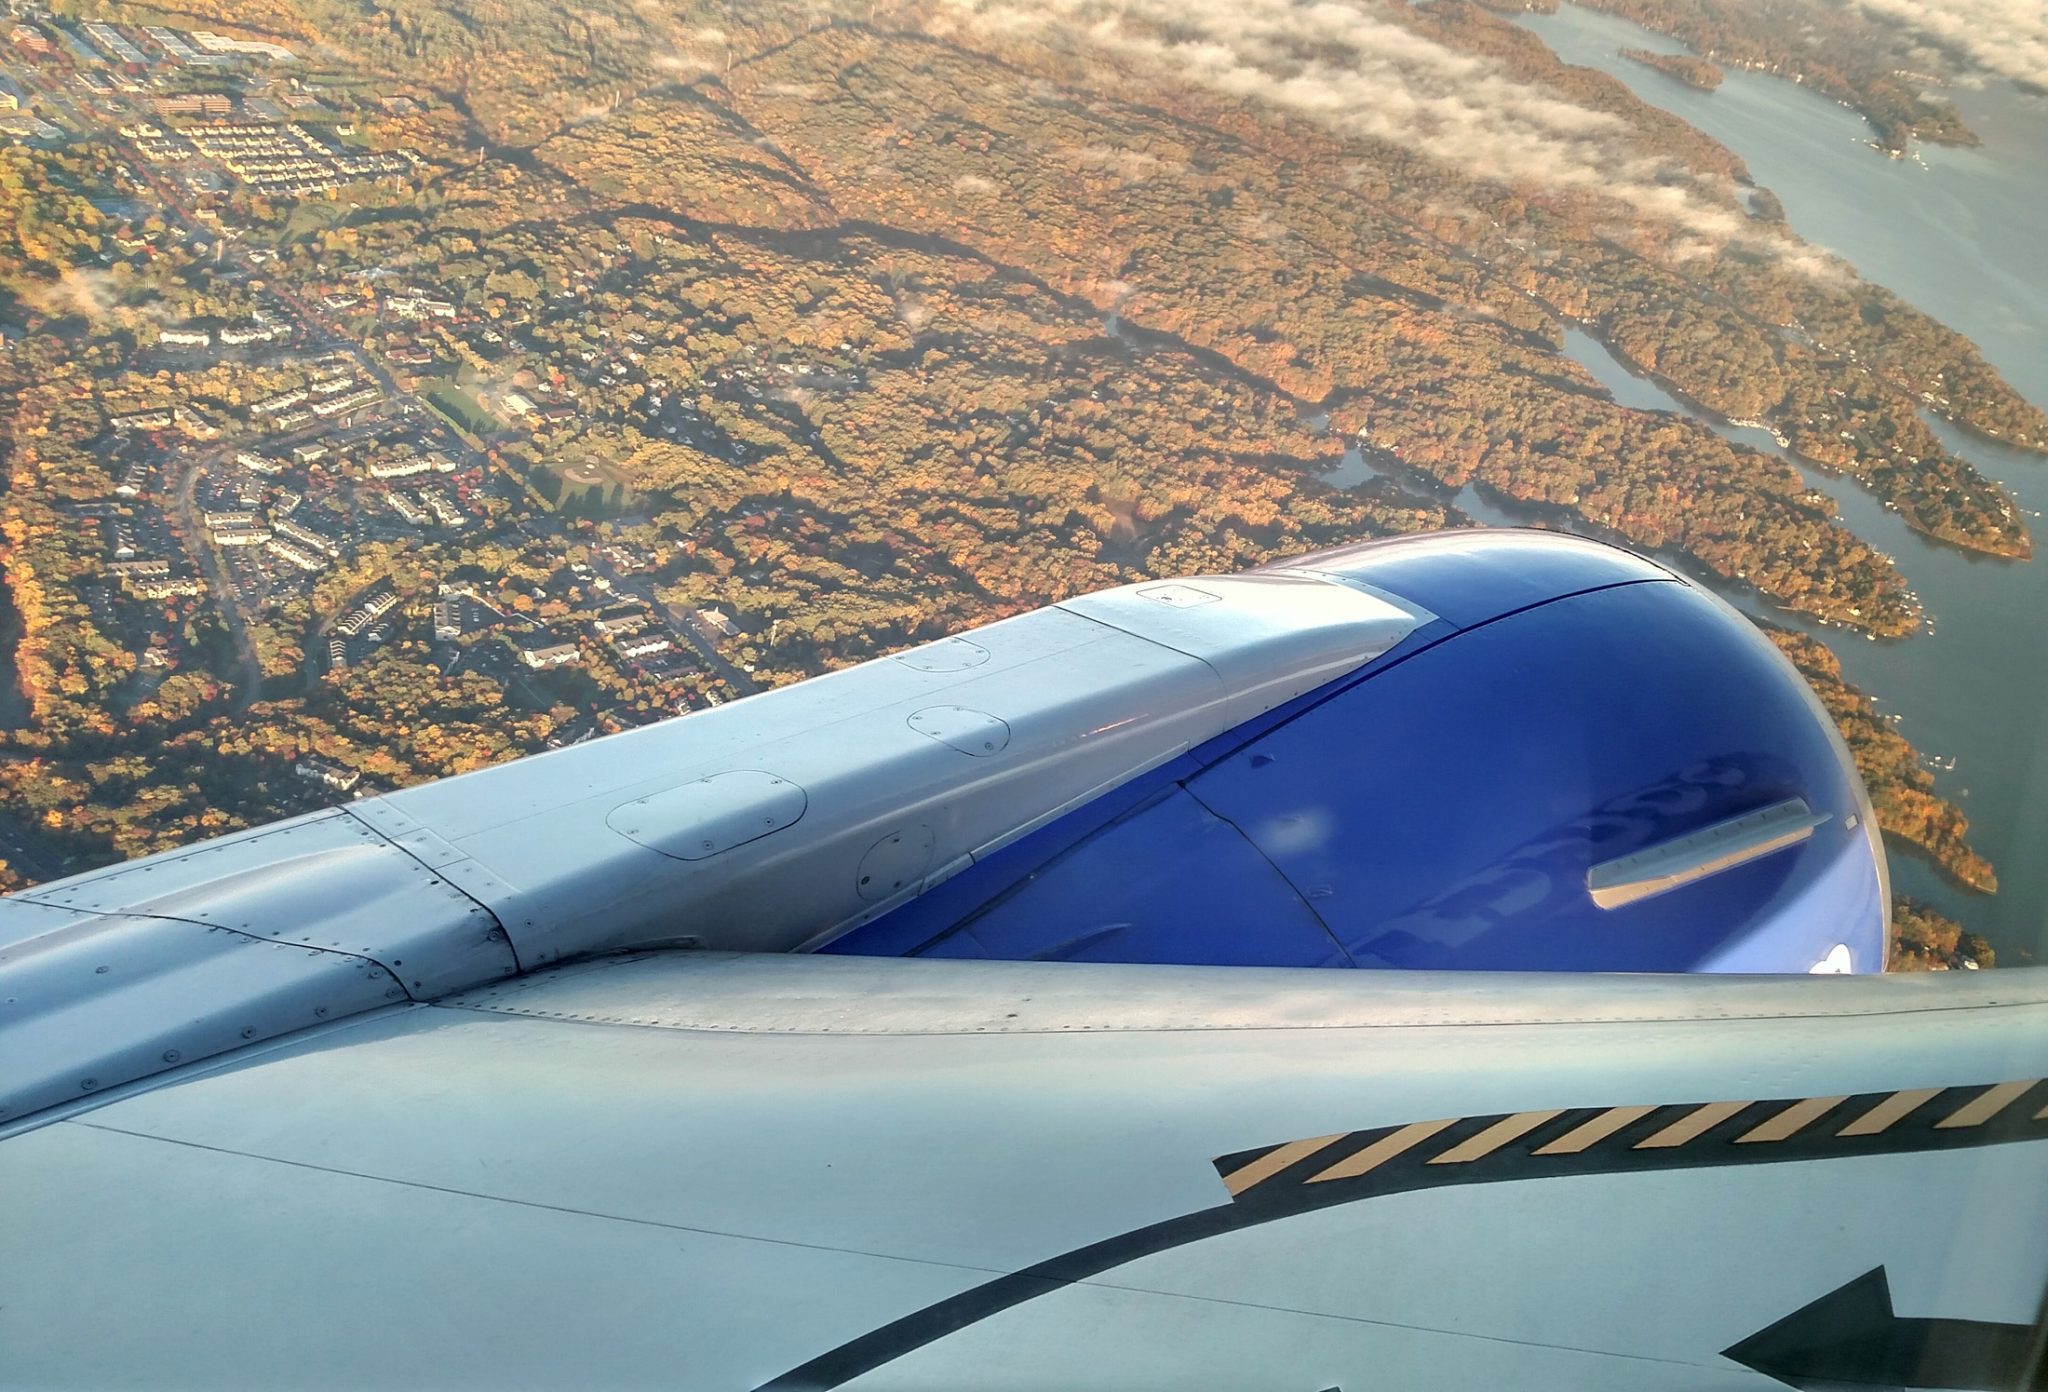
Flying over New England in the fall
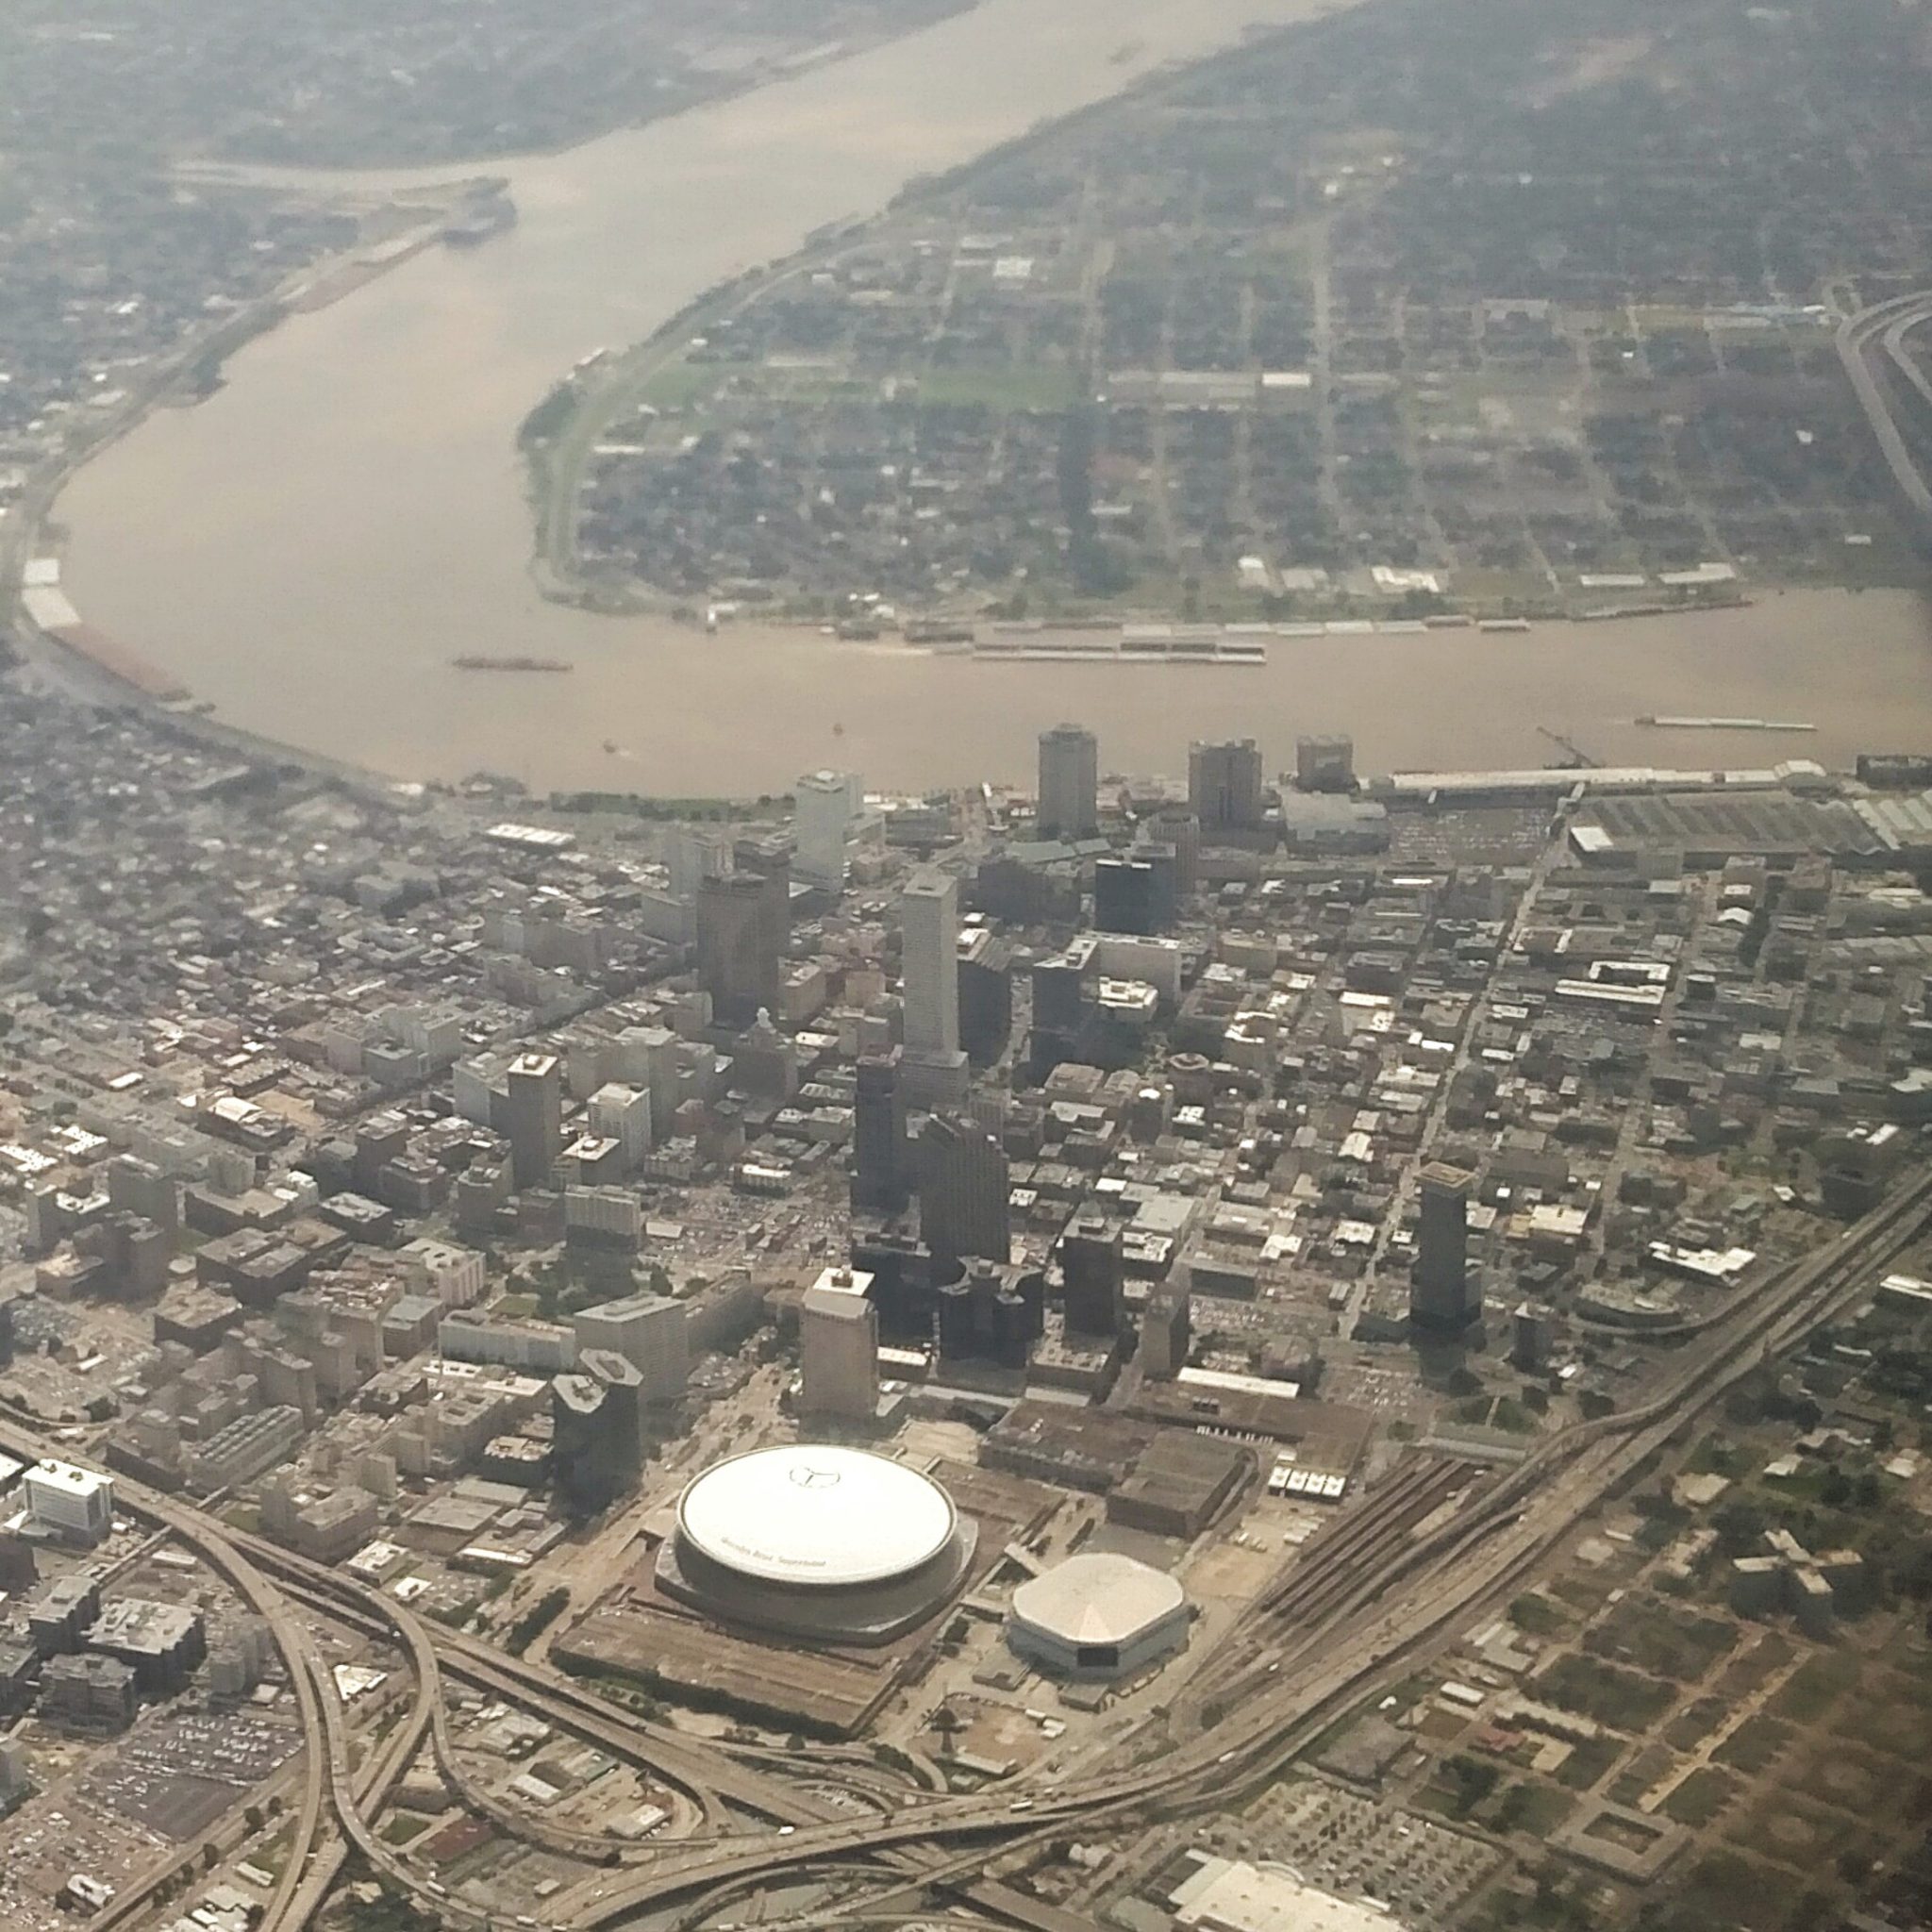
Flying over New Orleans on the way to Houston, Texas from Atlanta.
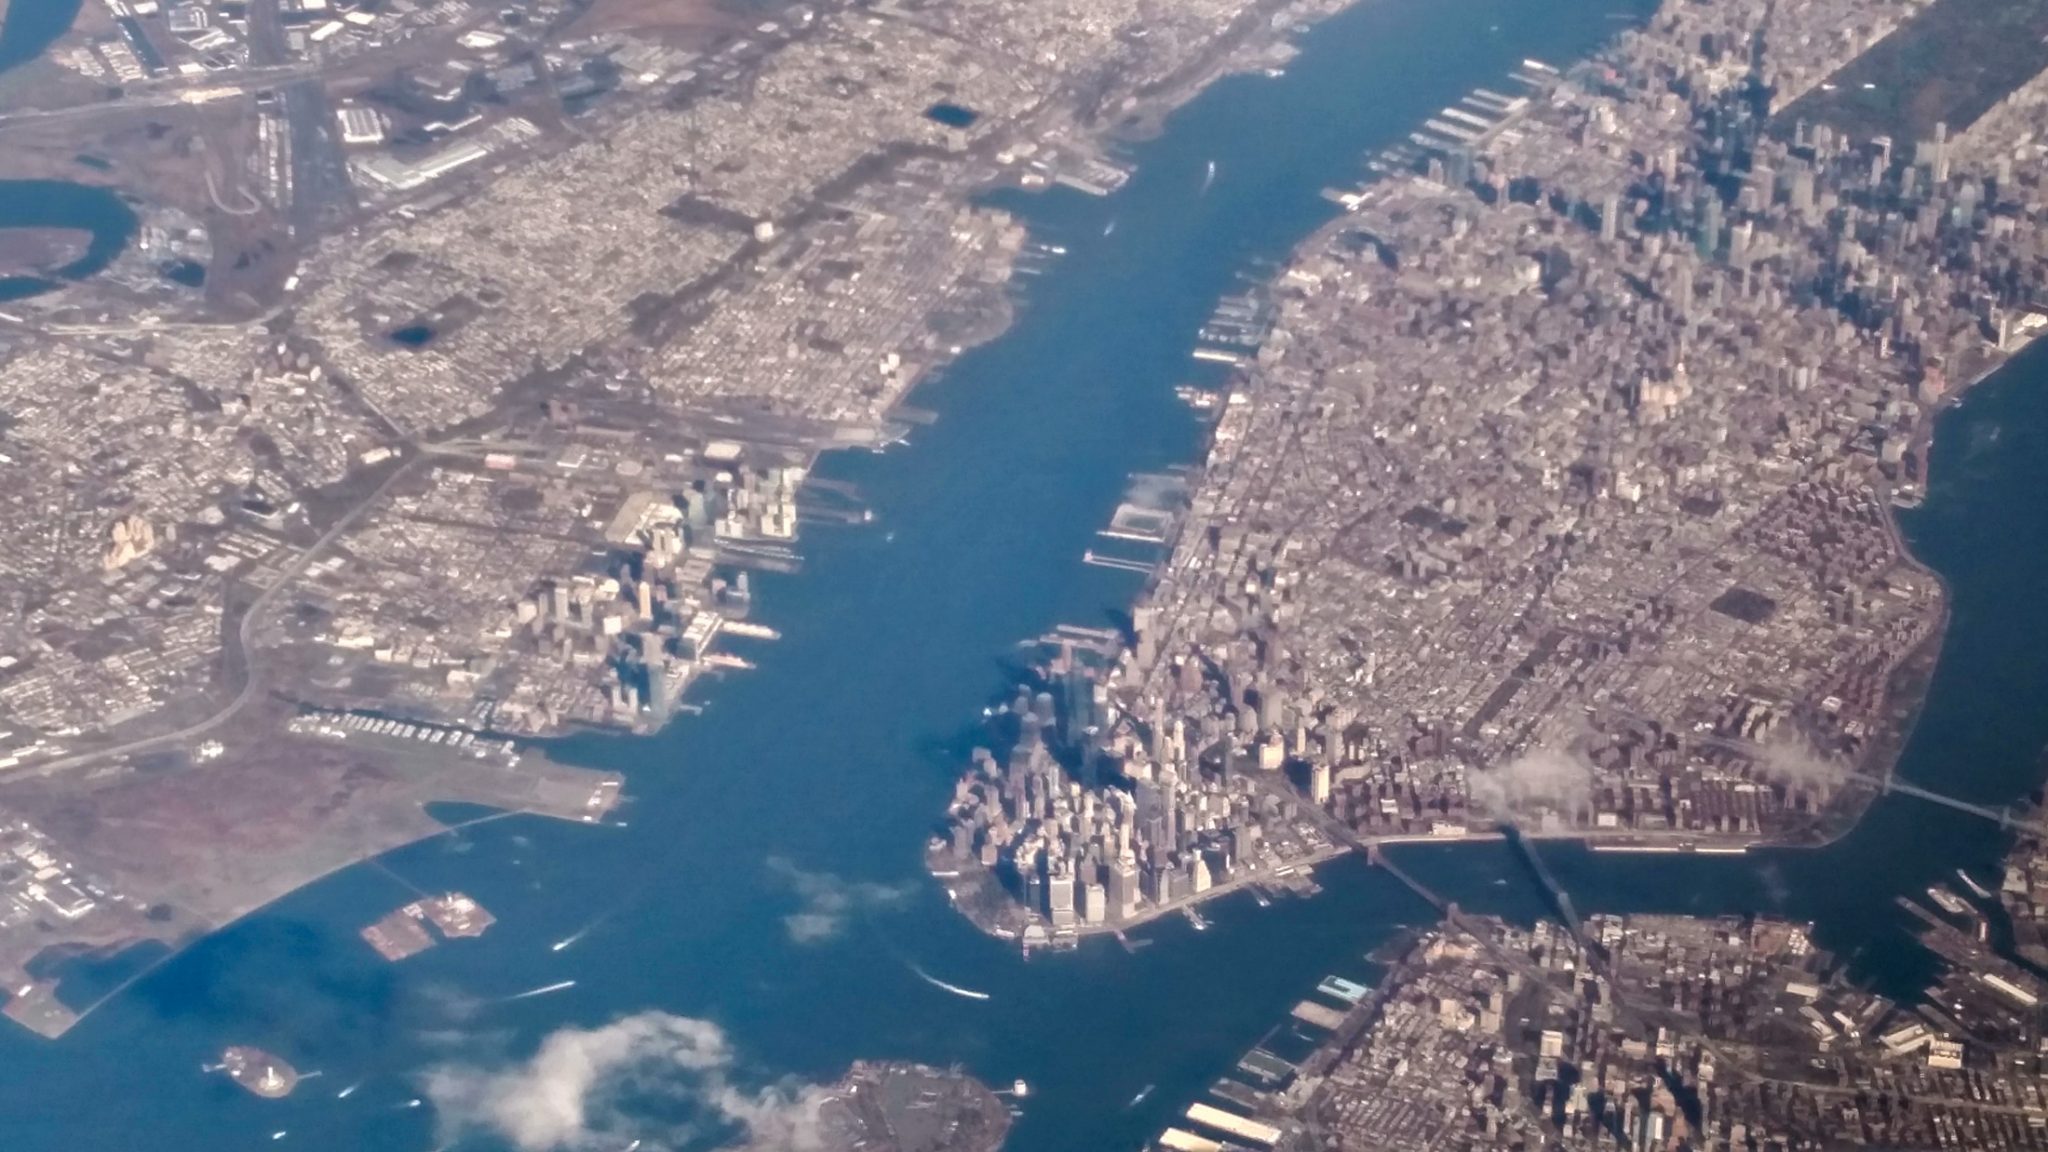
View of Manhattan island
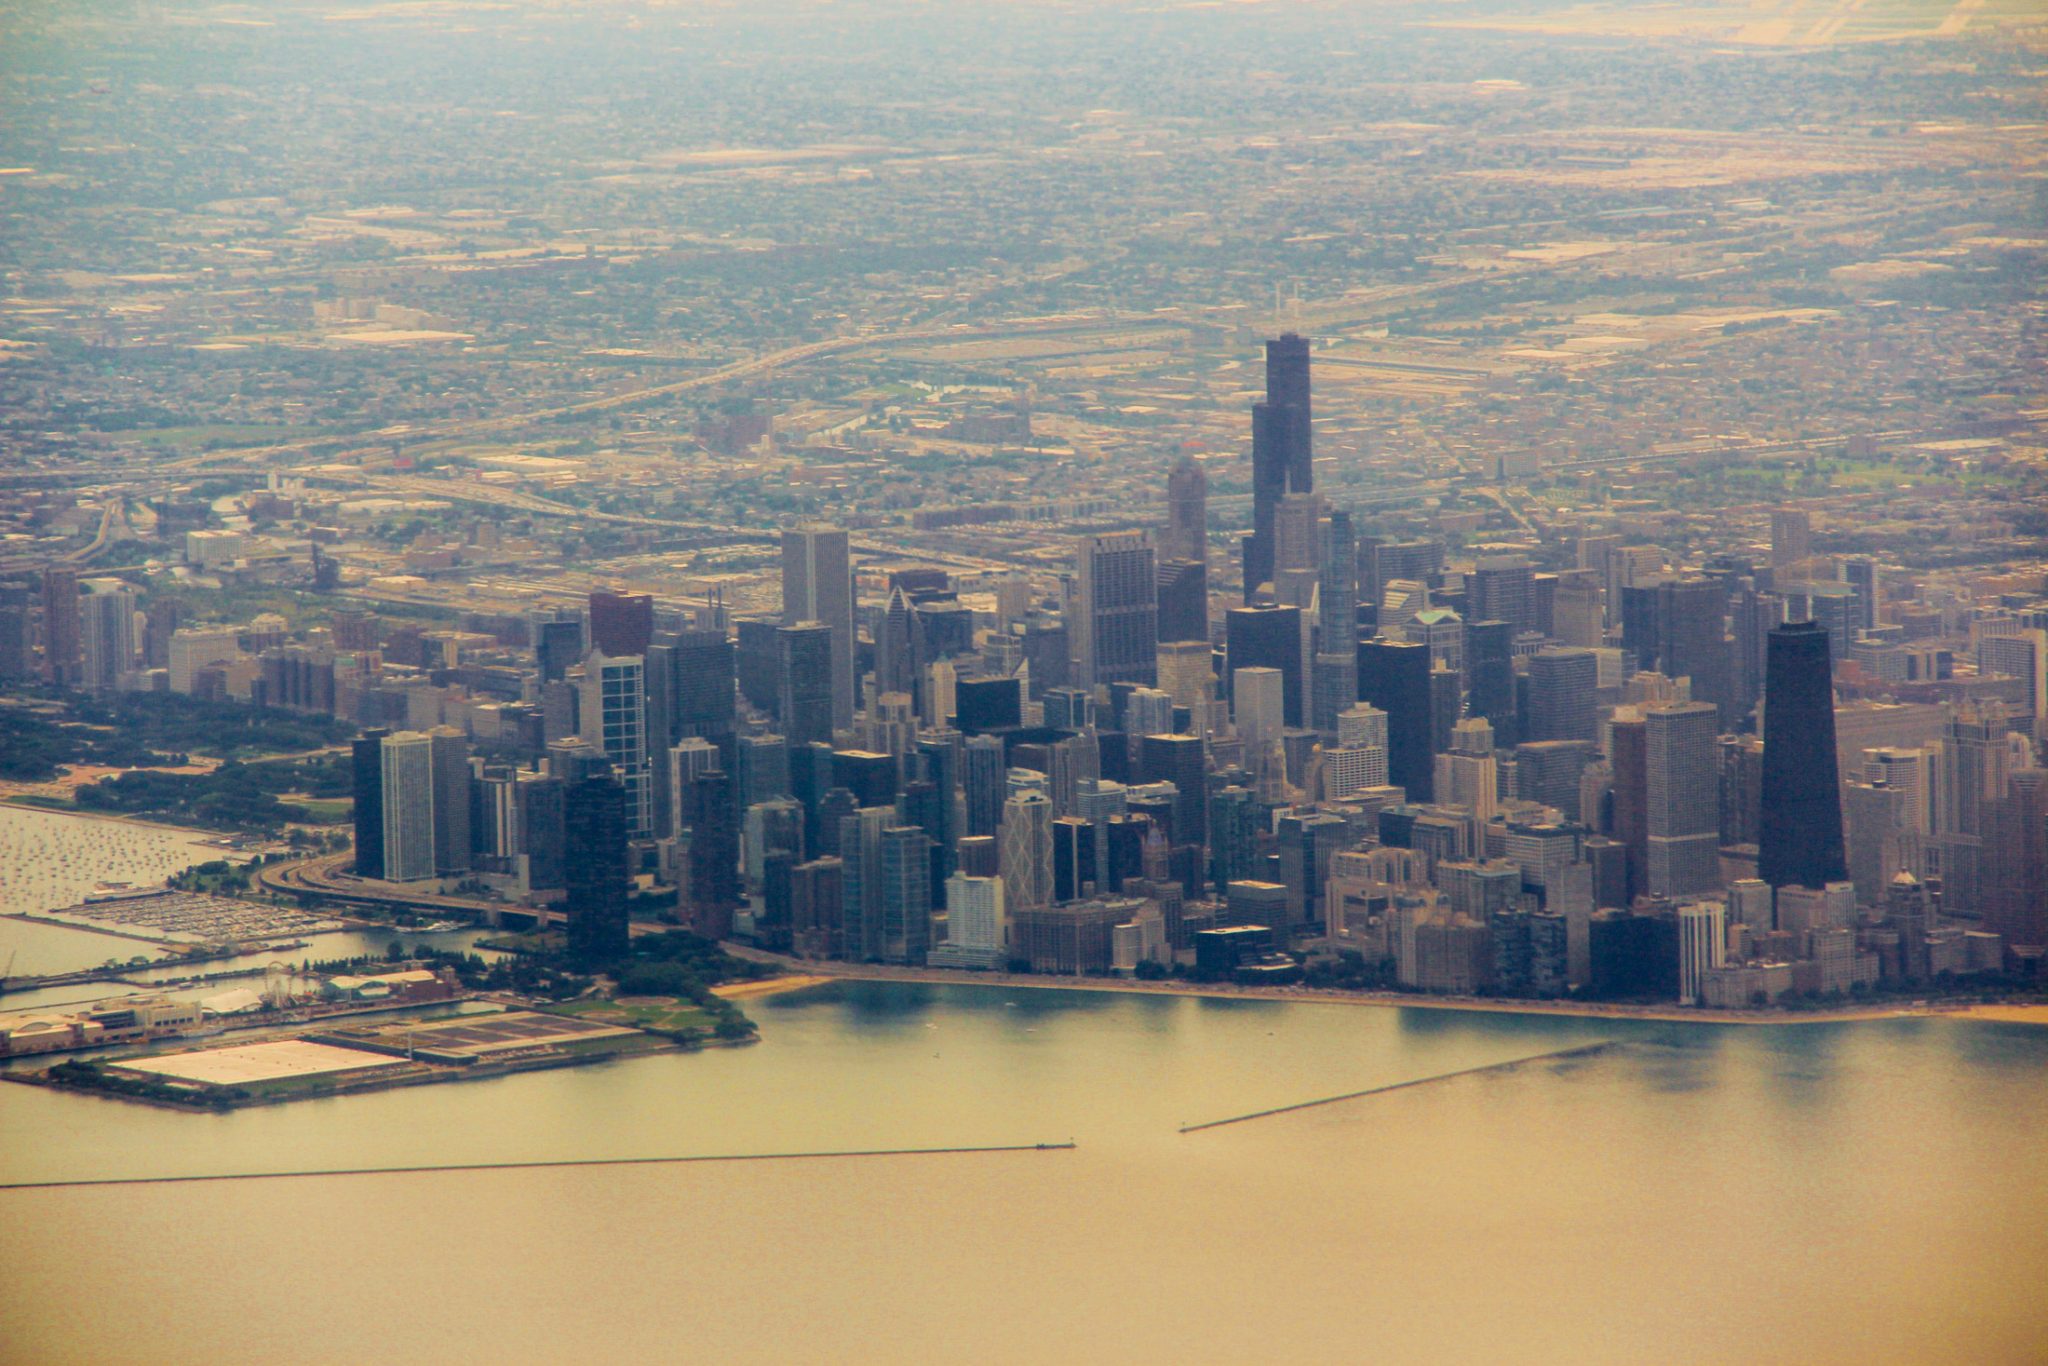
Early morning sunrise in Chicago.
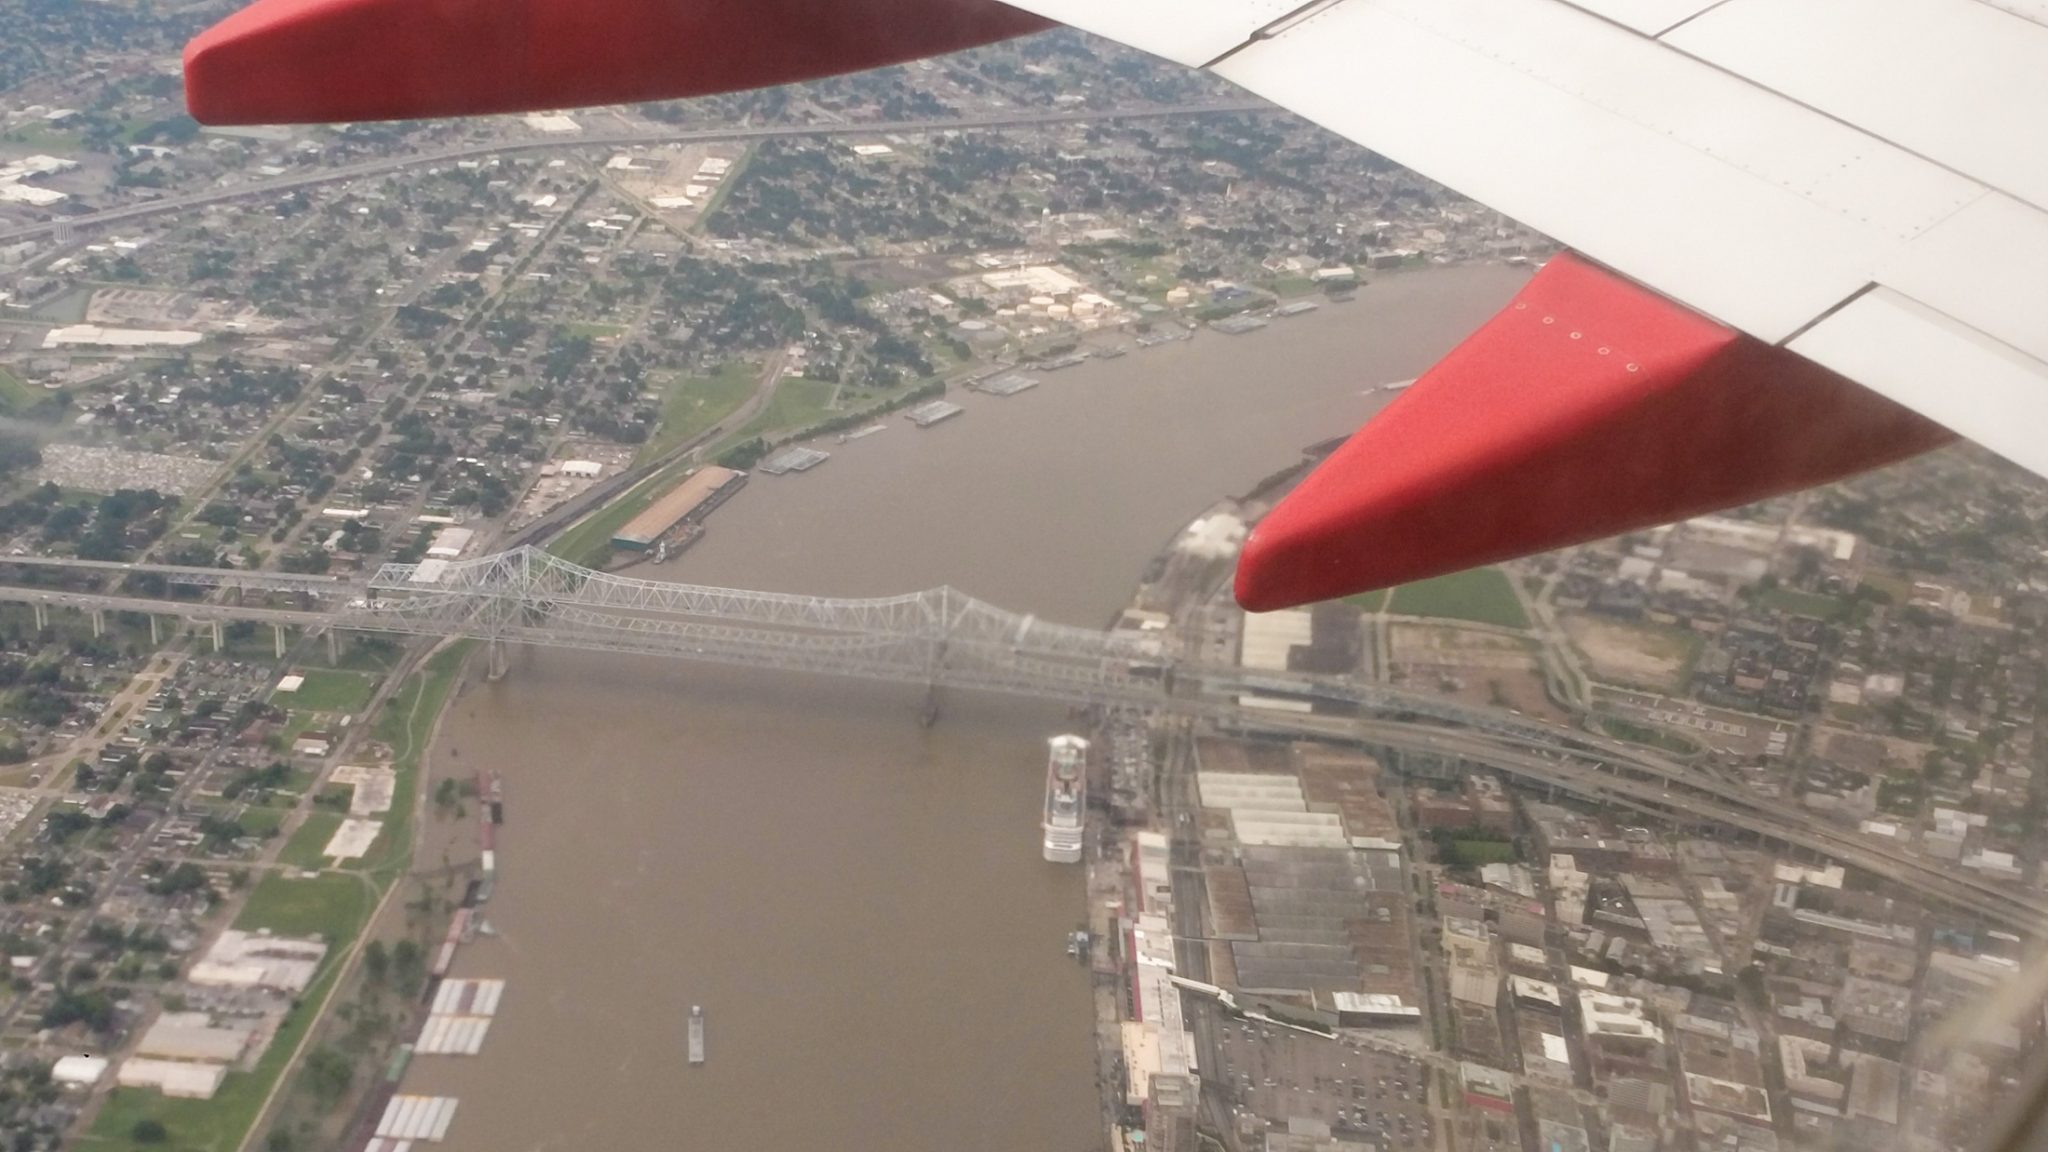
Flying over the Mississippi River at the Port of New Orleans where you can see the Carnival Dream is docked.
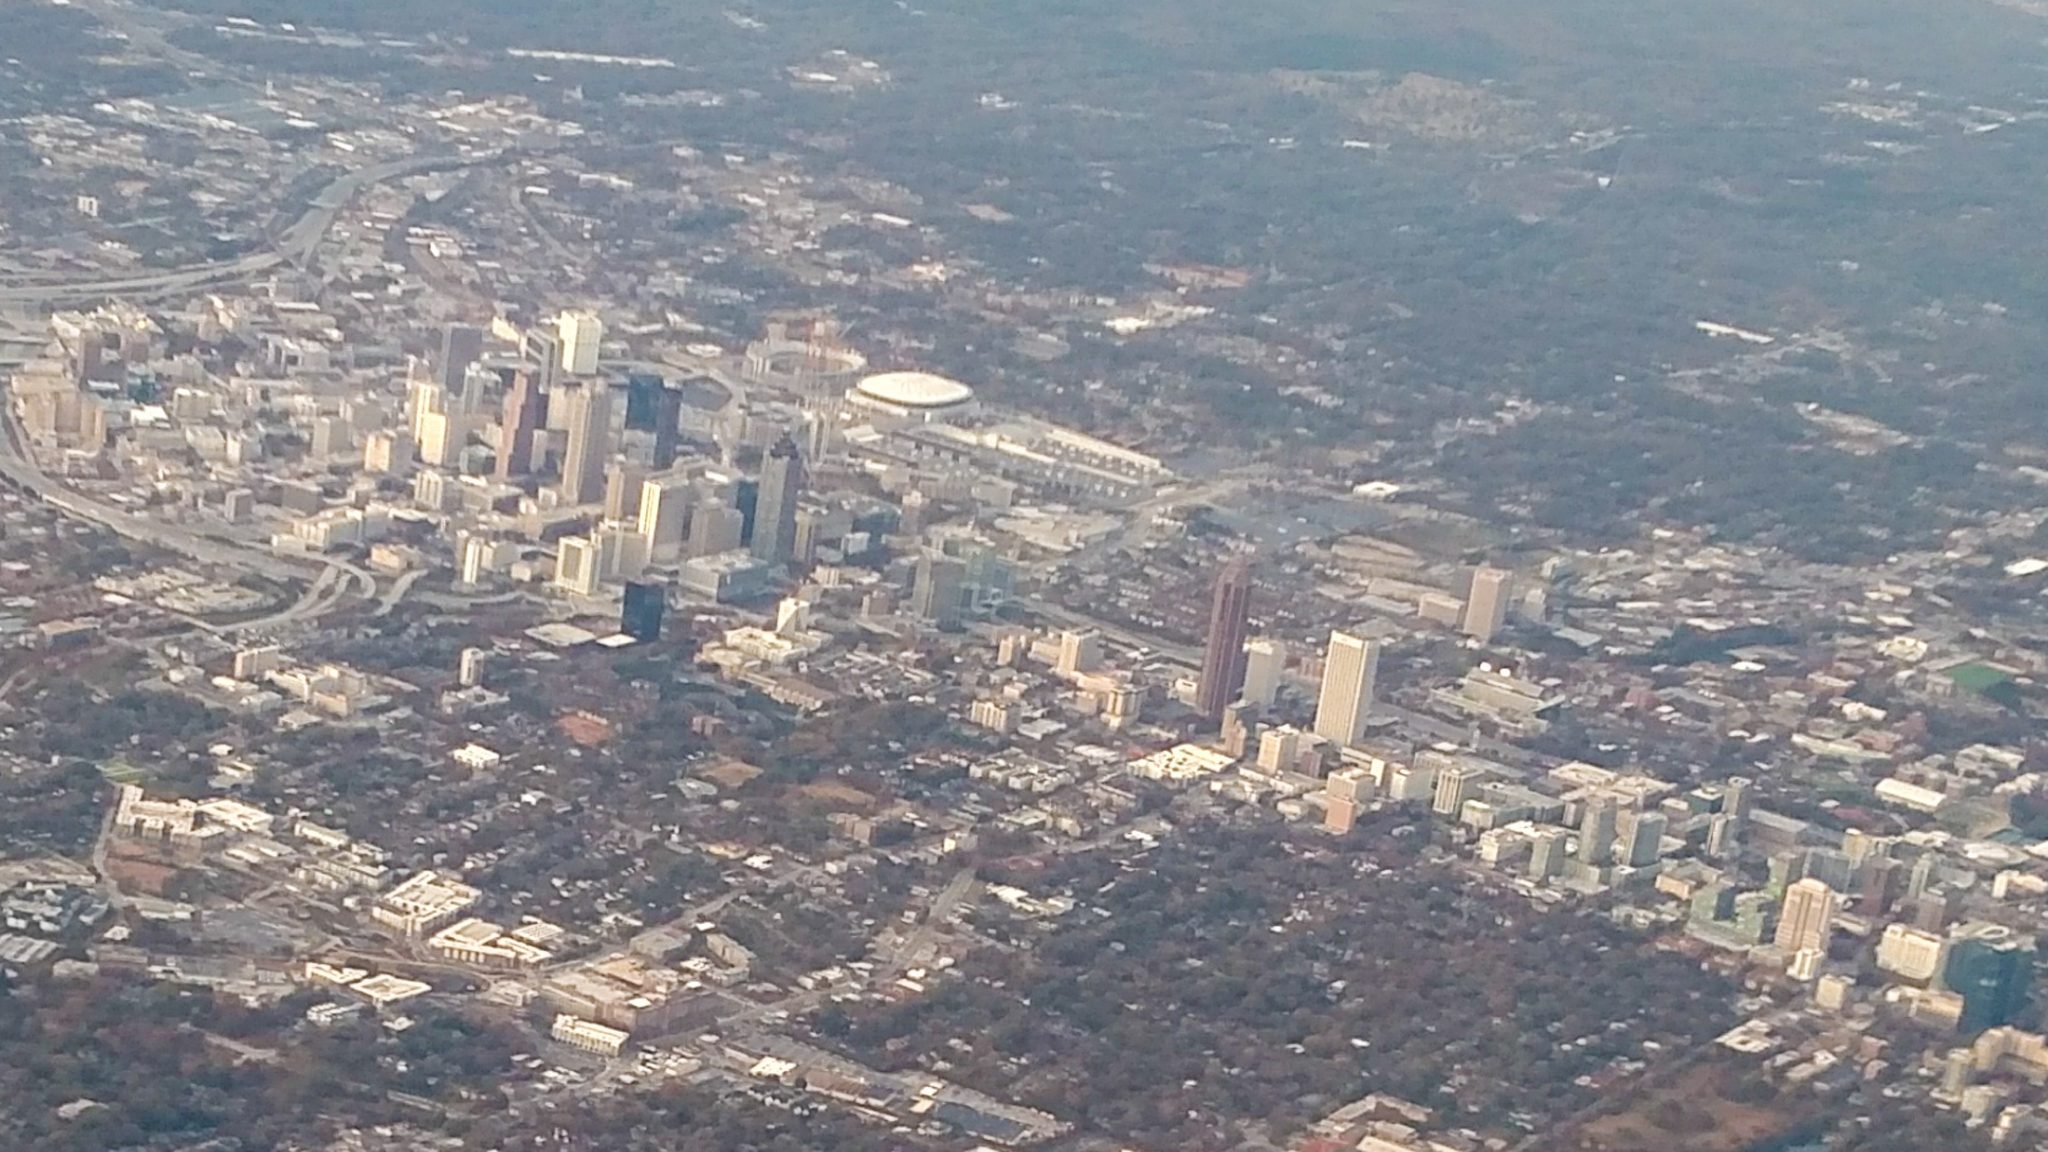
My hometown – Atlanta, Georgia.
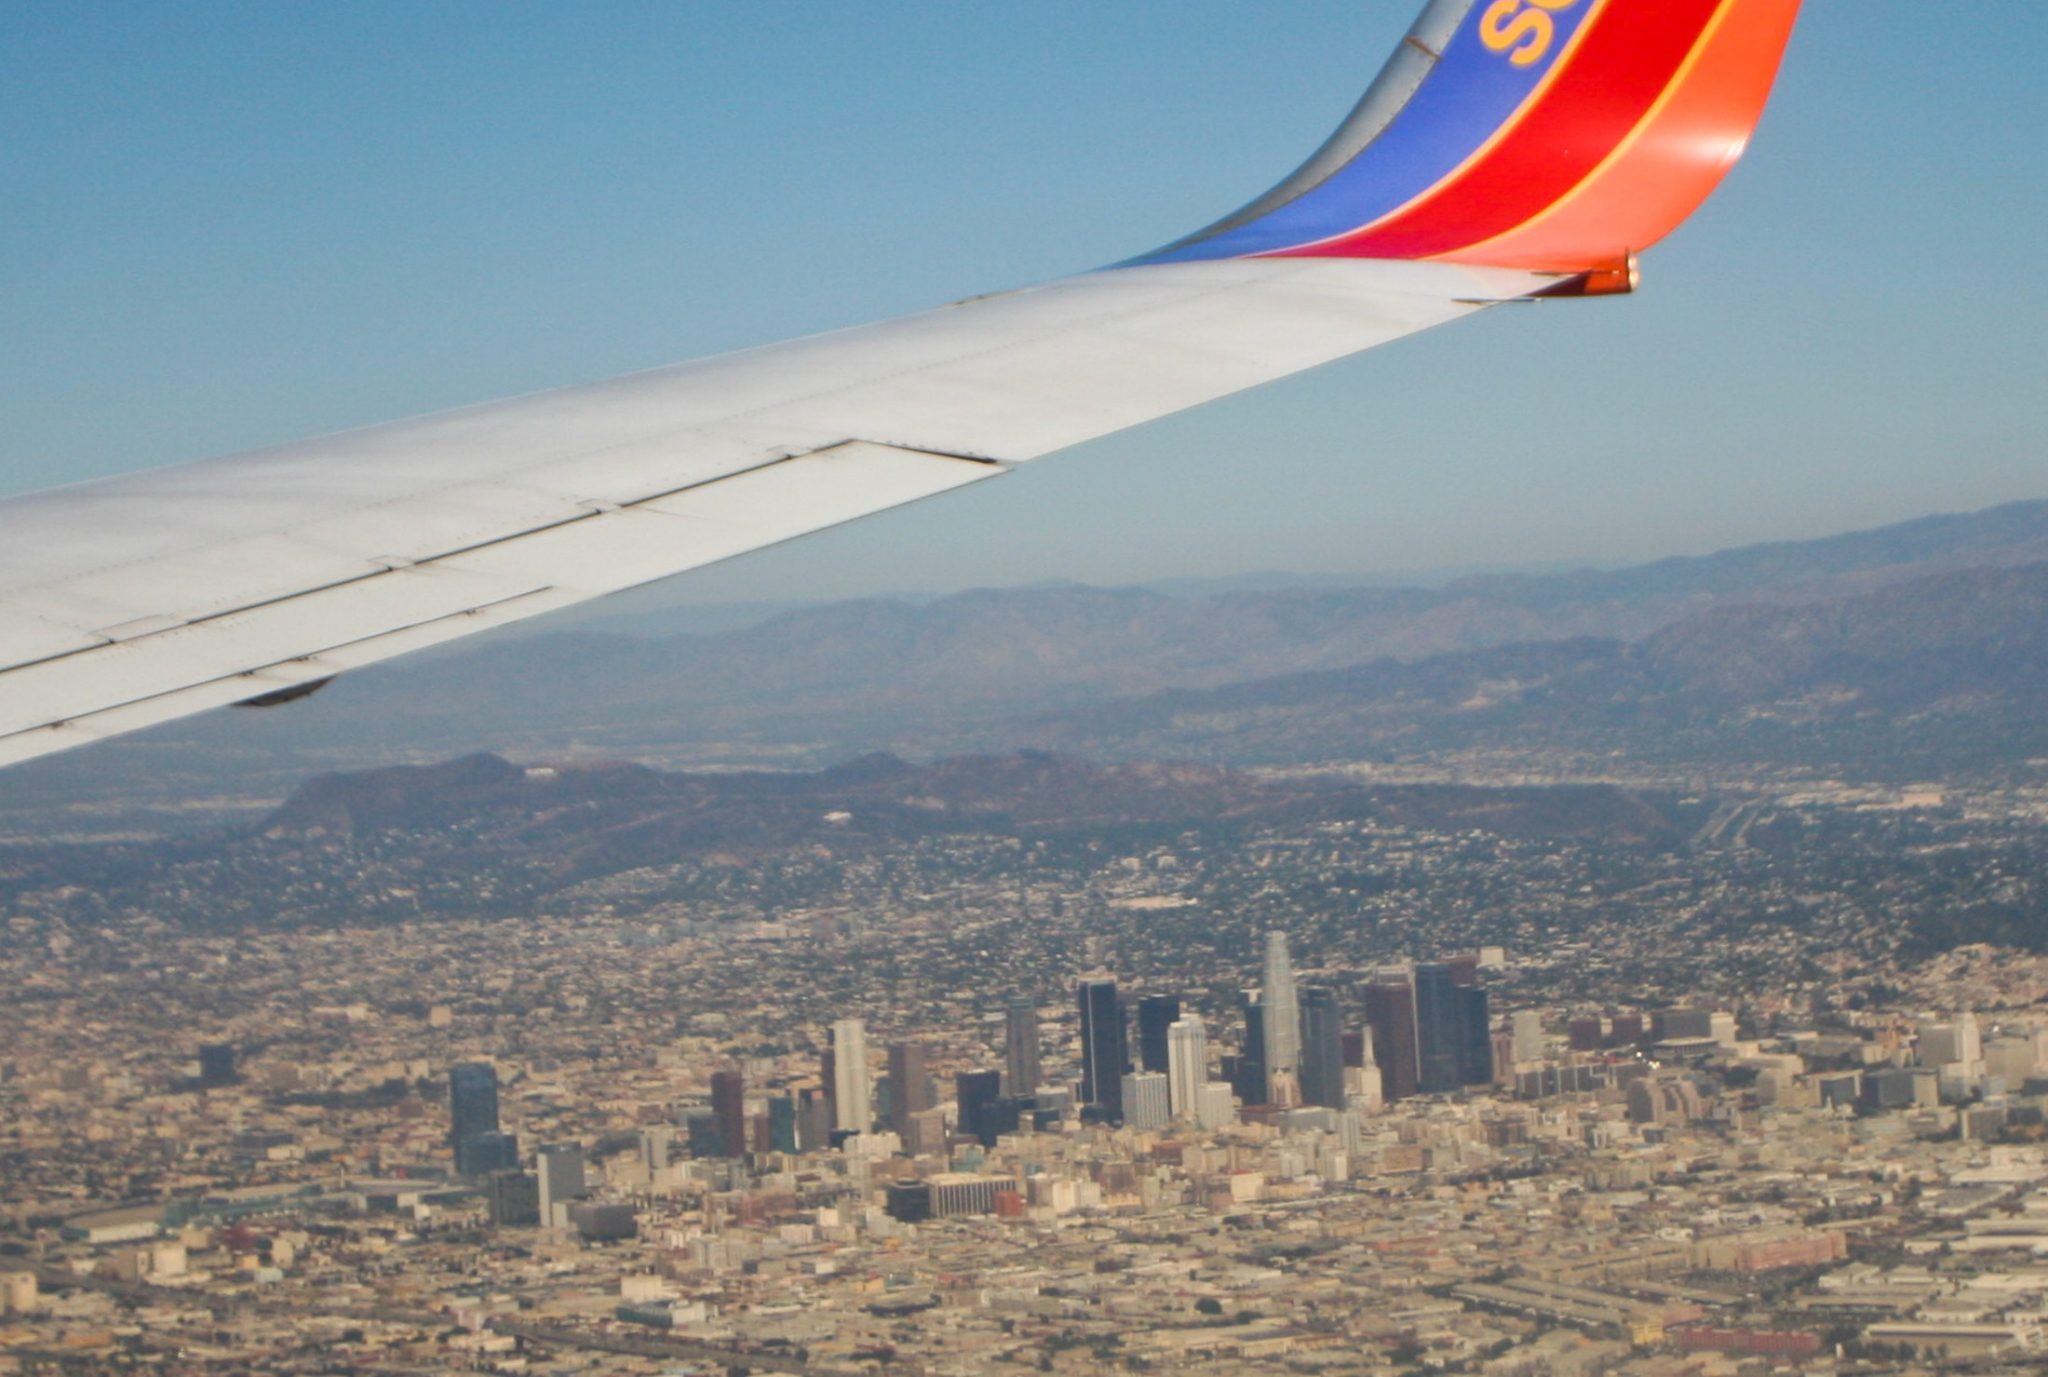
Flying over Down Town Los Angeles
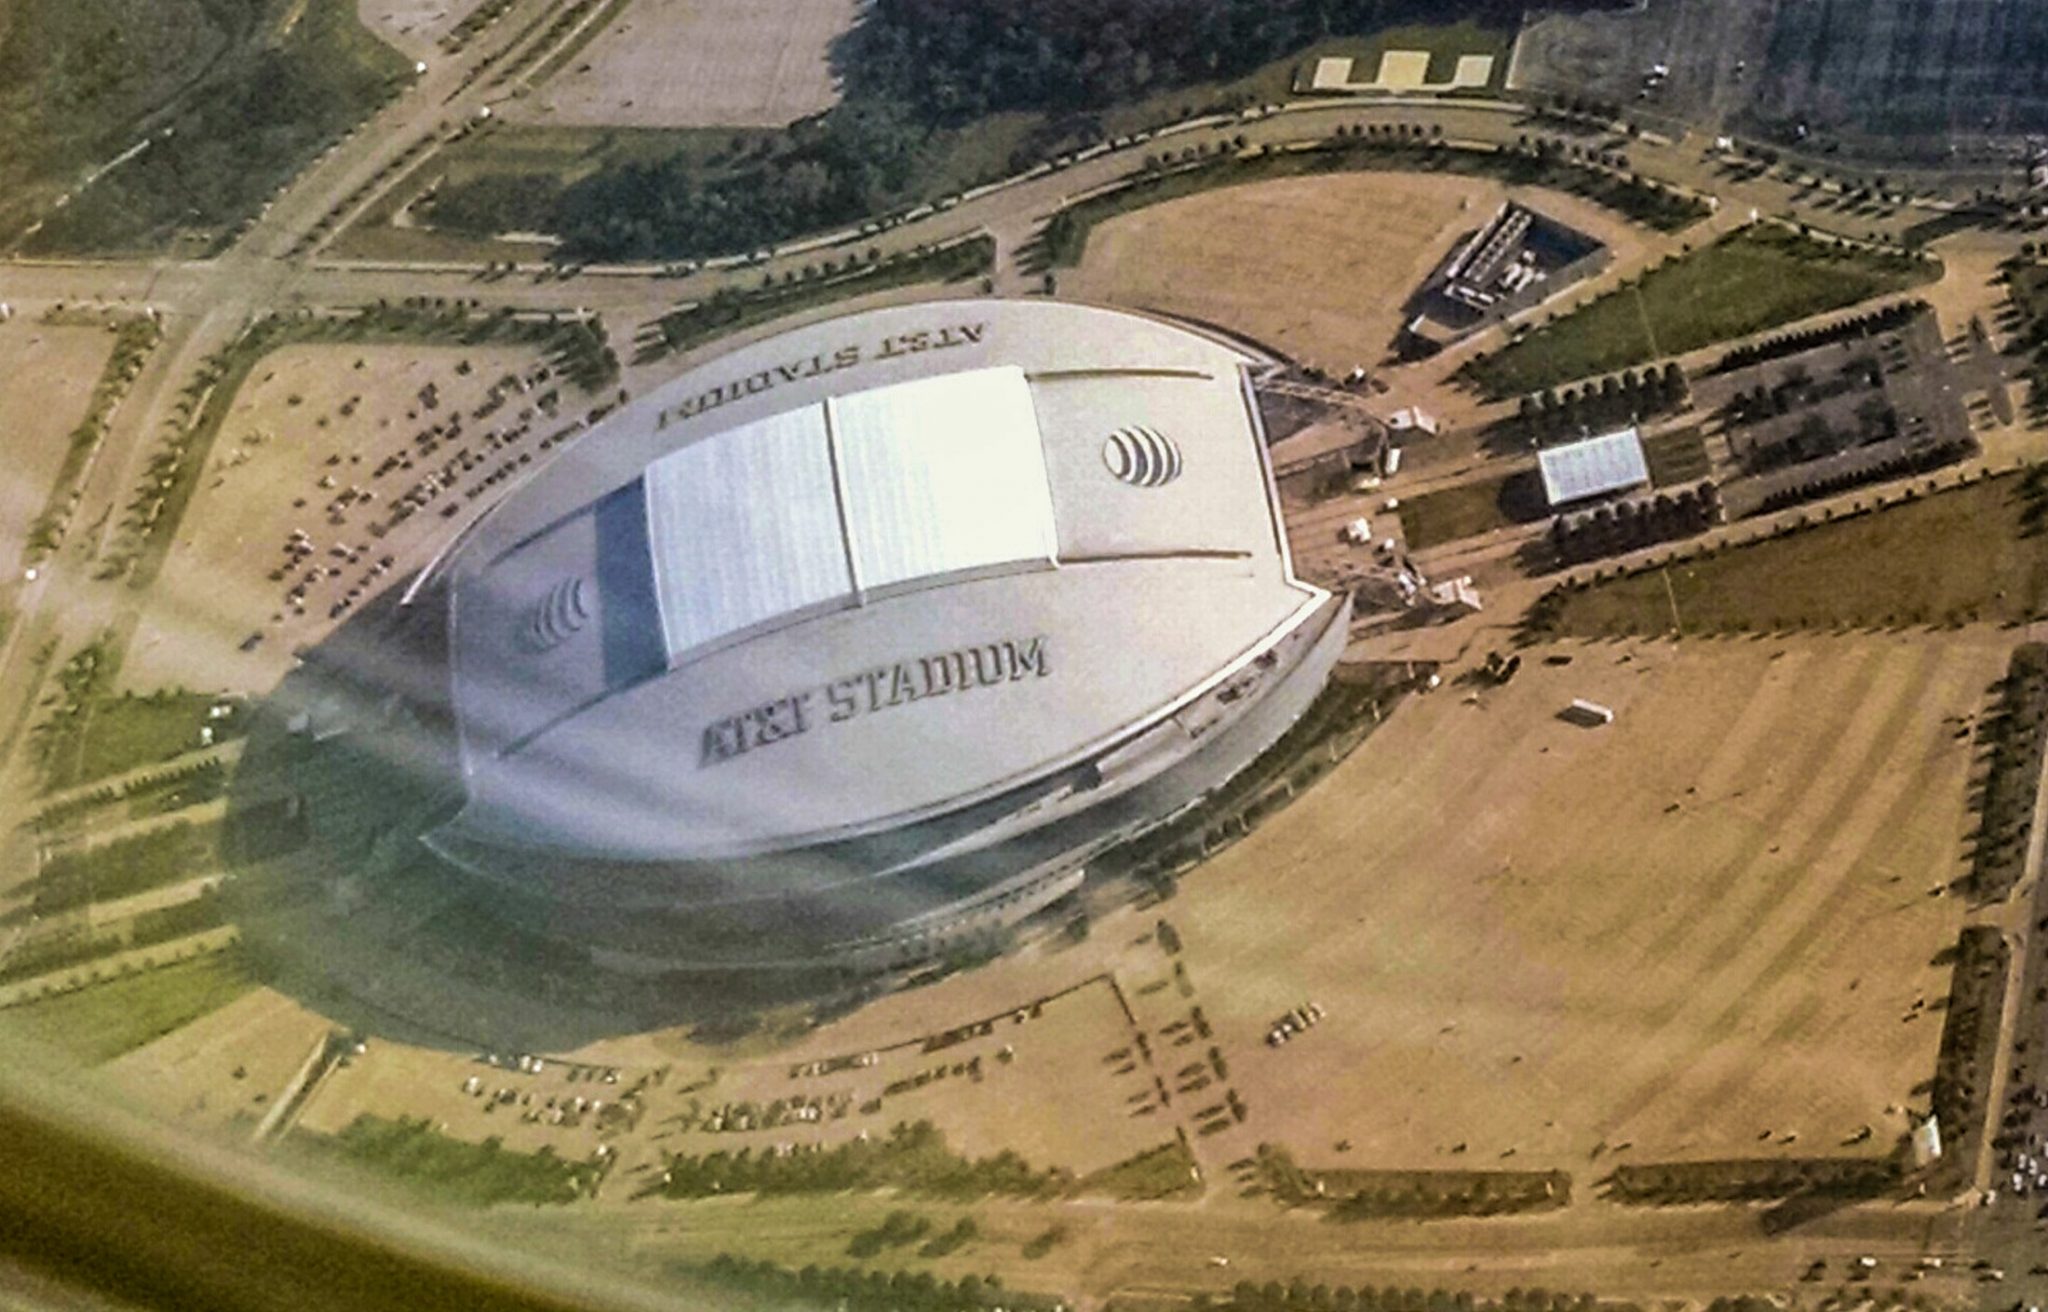 Flying over AT&T Stadium in Arlington, Texas. Note the glare from the window and the graininess from the digital zoom.
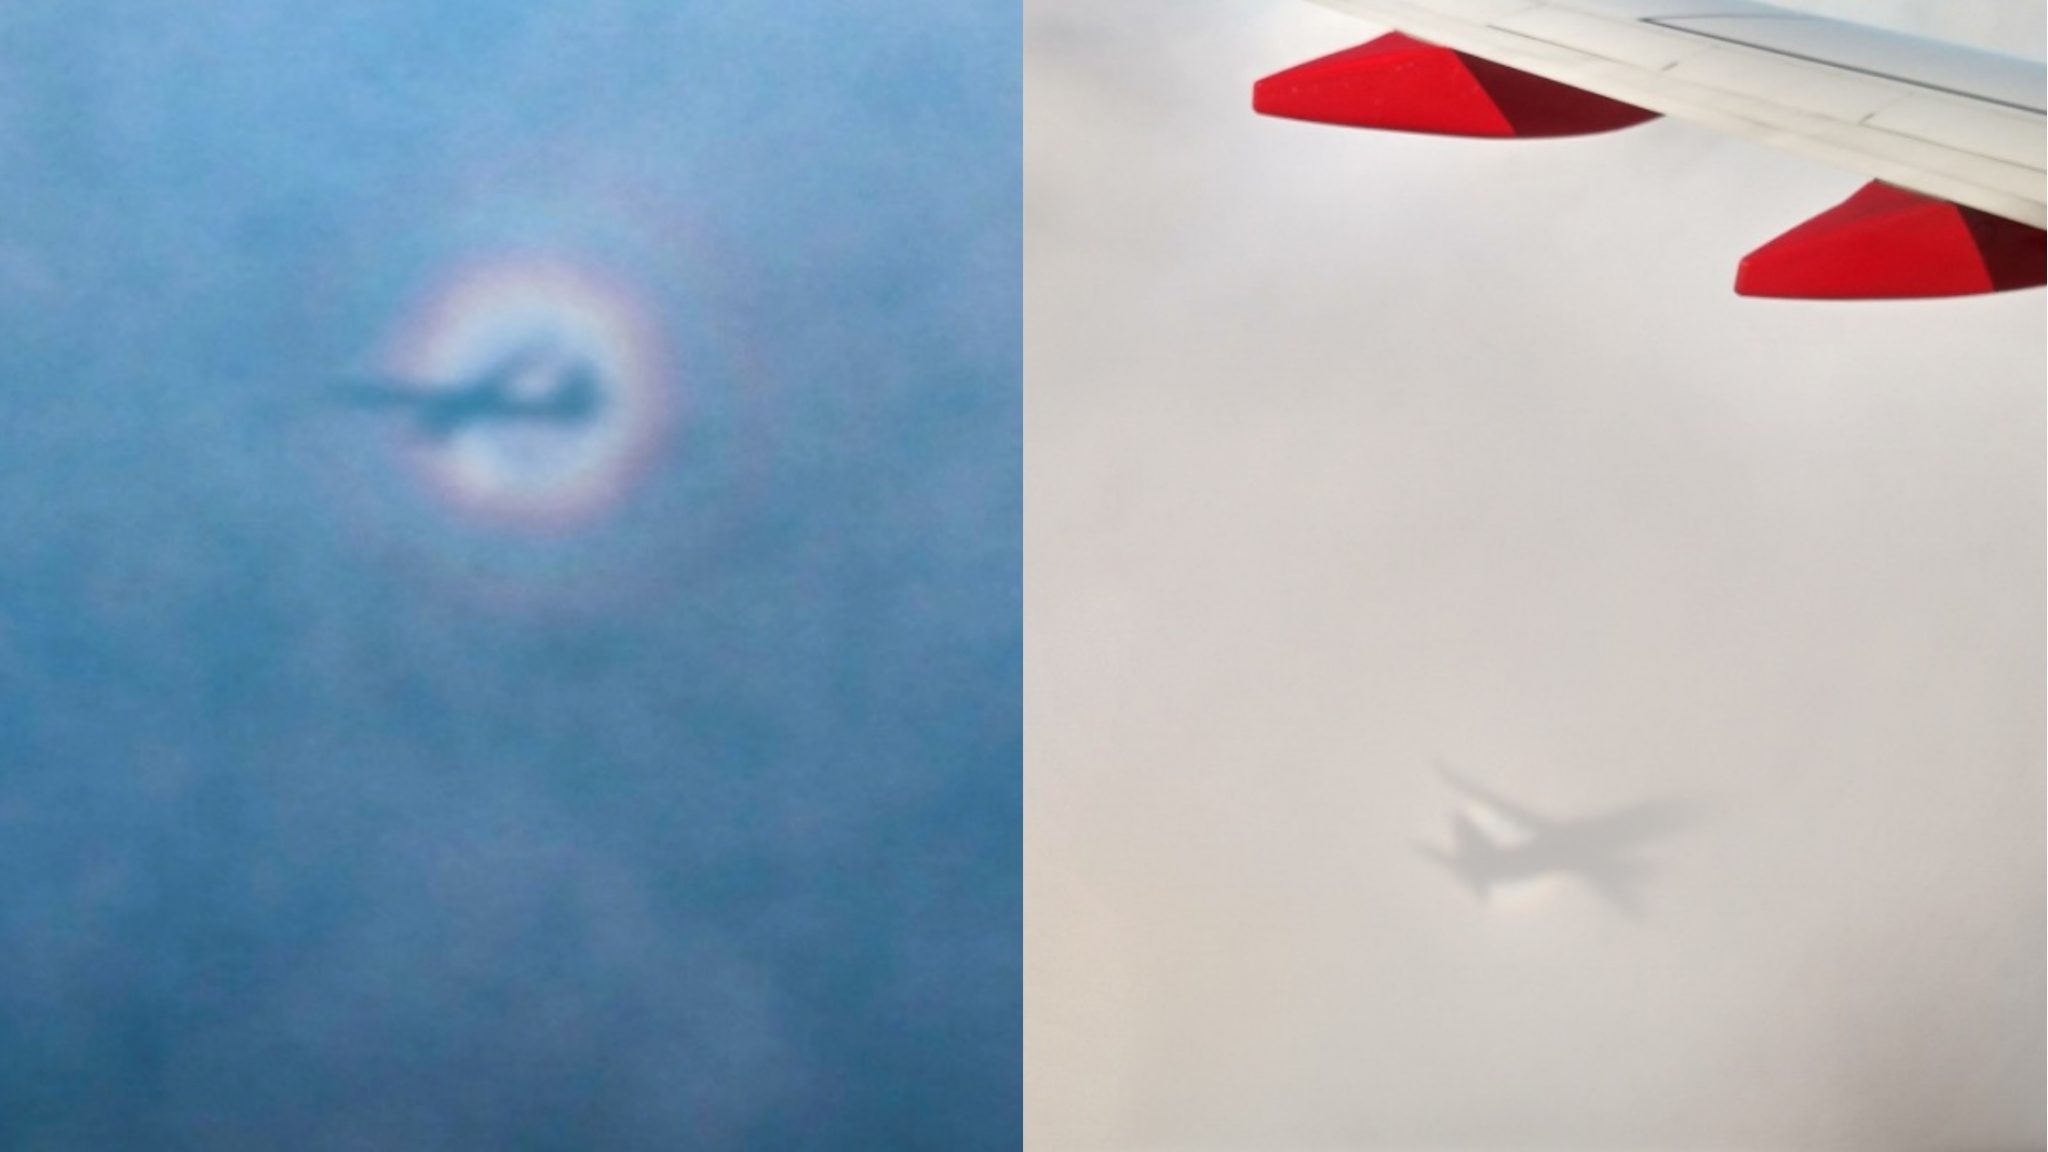
It’s always fun to see your airplanes shadow on clouds below. The circular rainbow around the shadow on the left is a phenomena known at the “halo effect.”
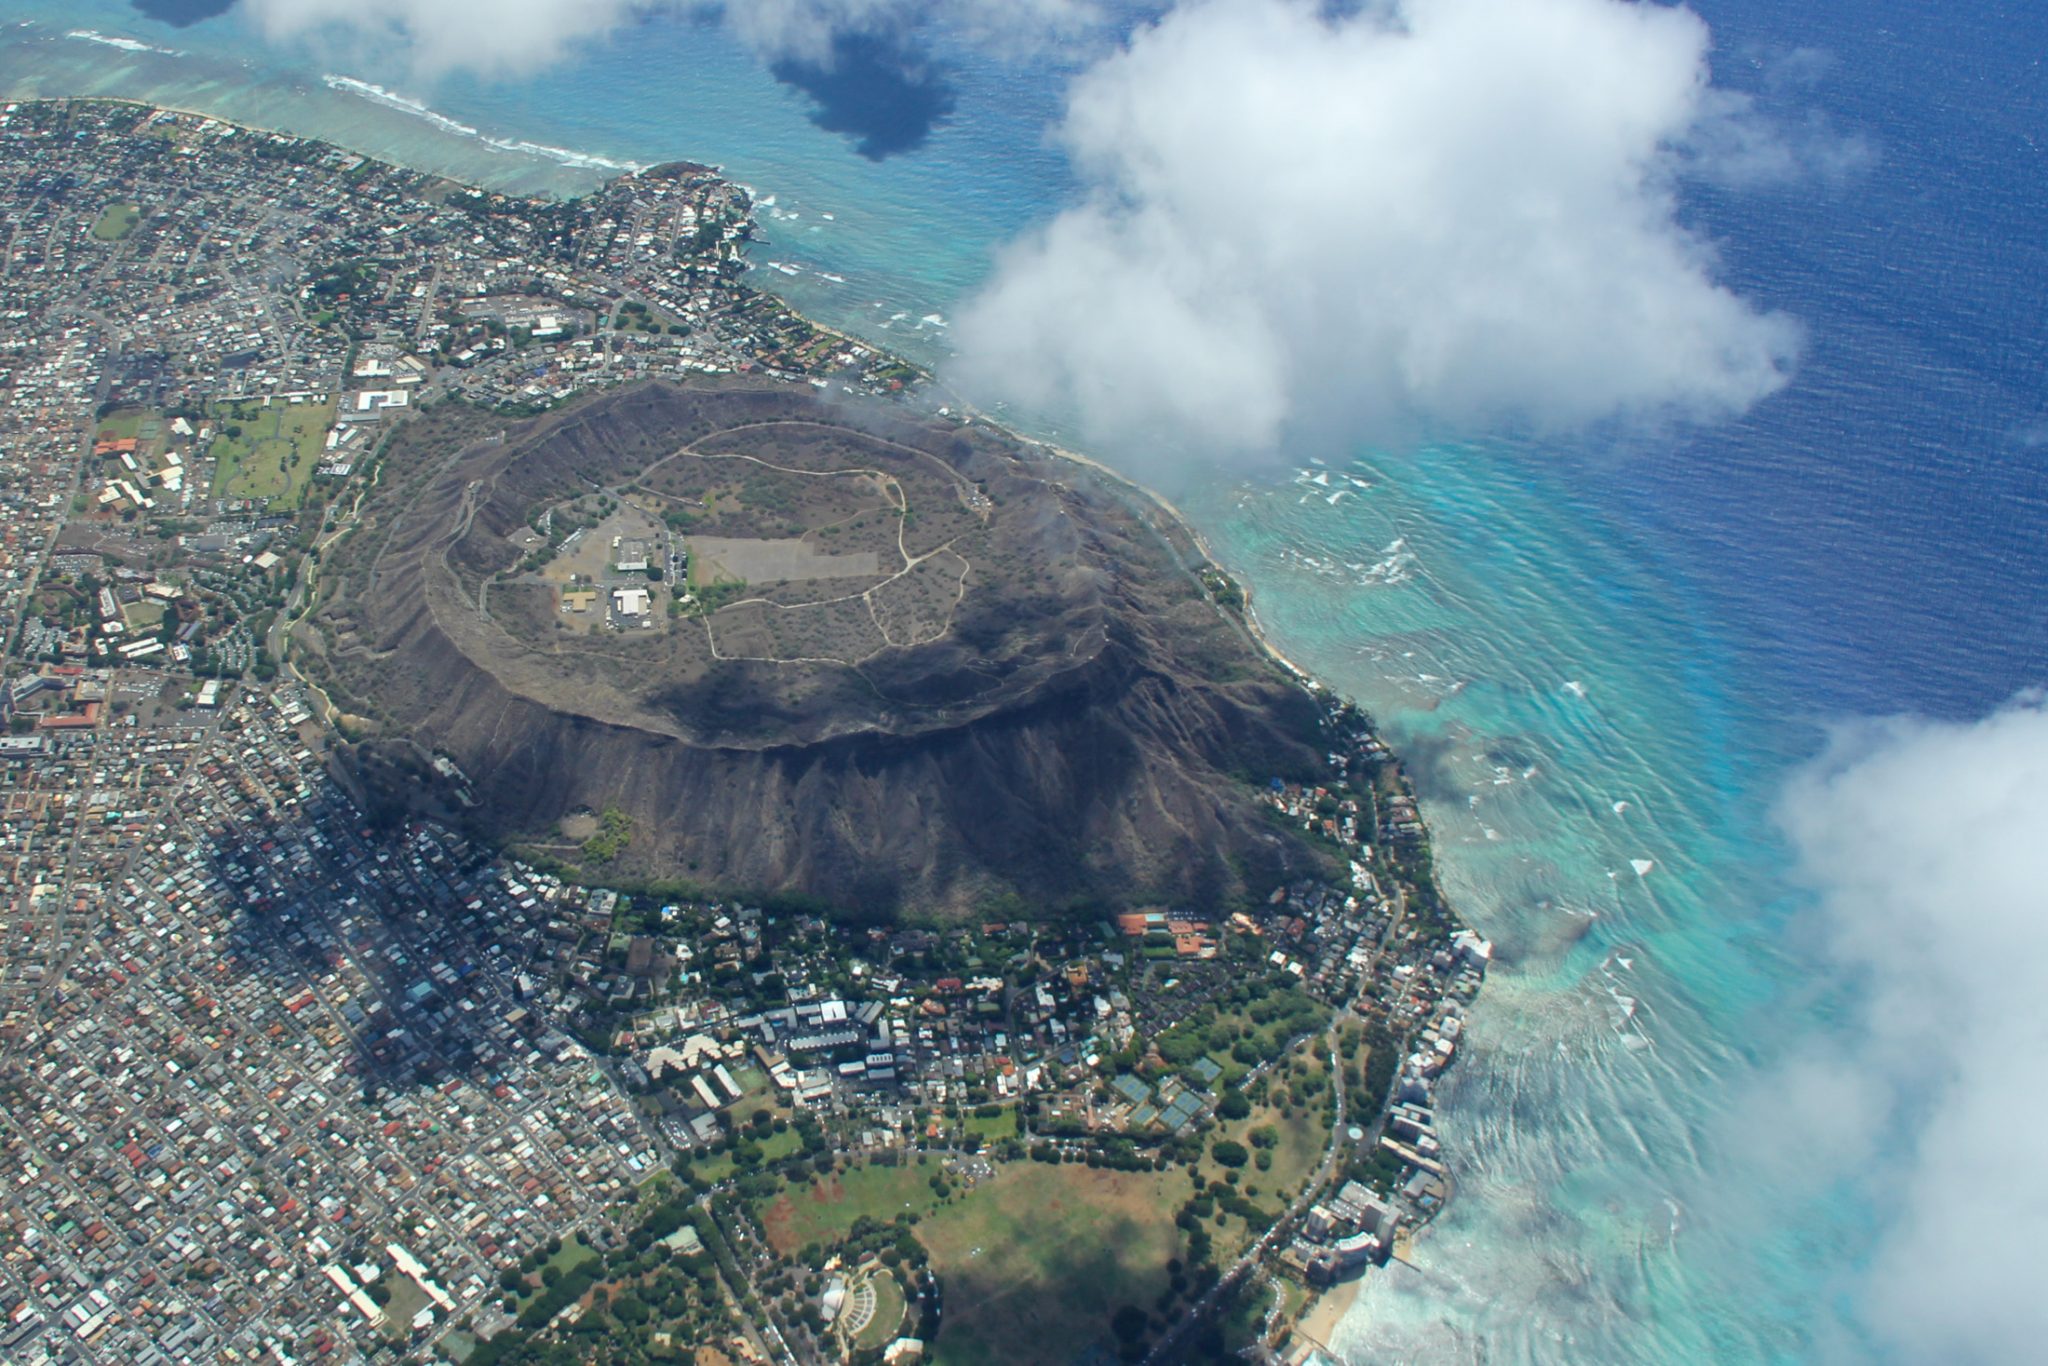
Diamond Head Volcano on O’ahu, Hawaii
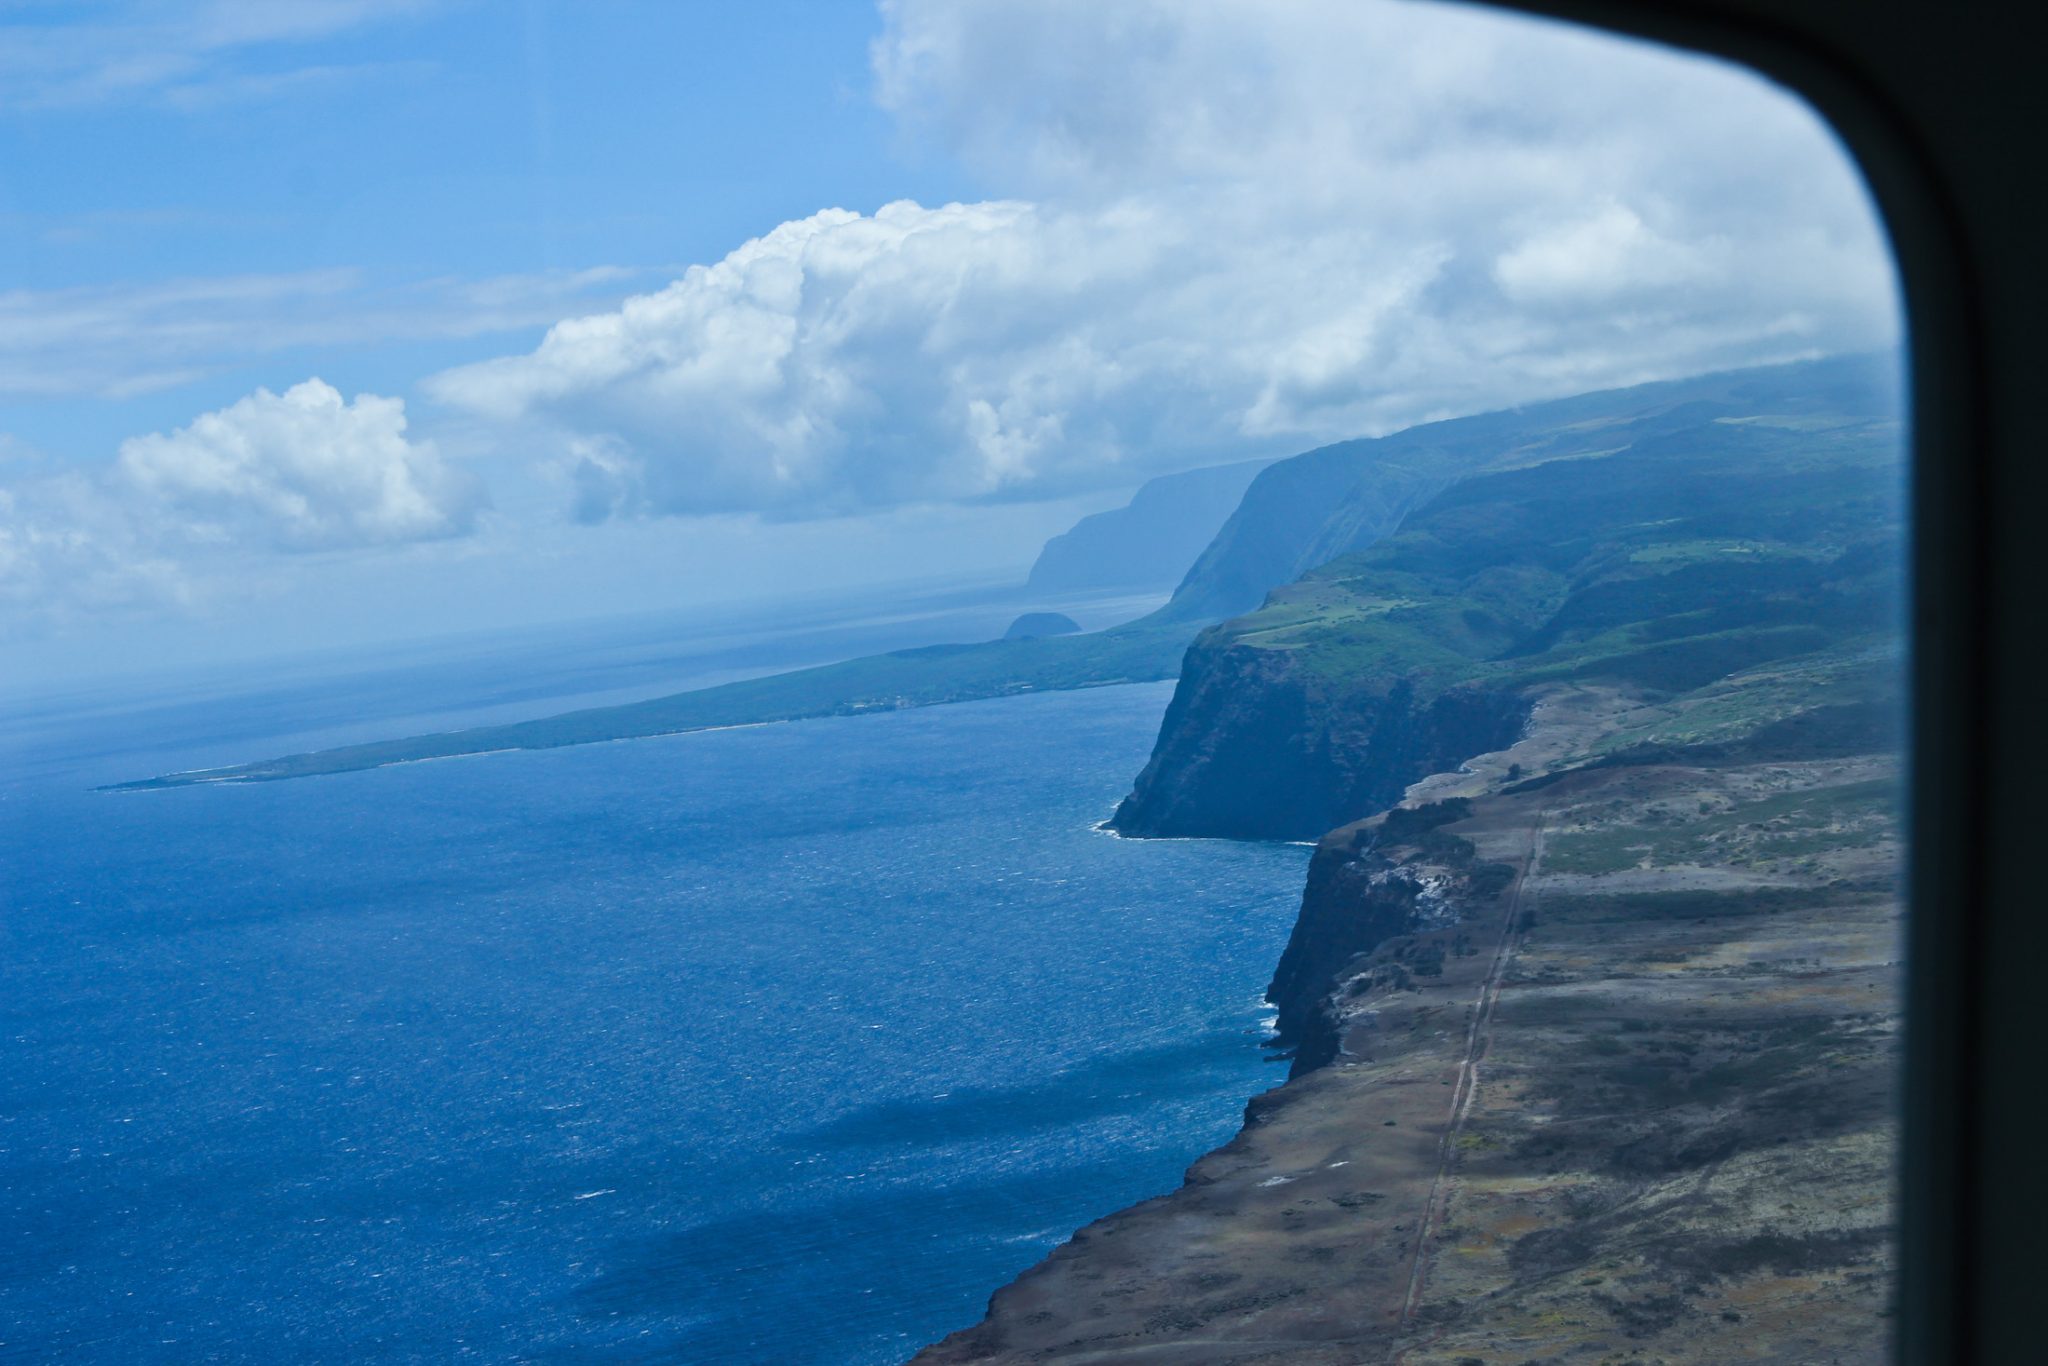
Sea cliffs of Molokai, Hawaii
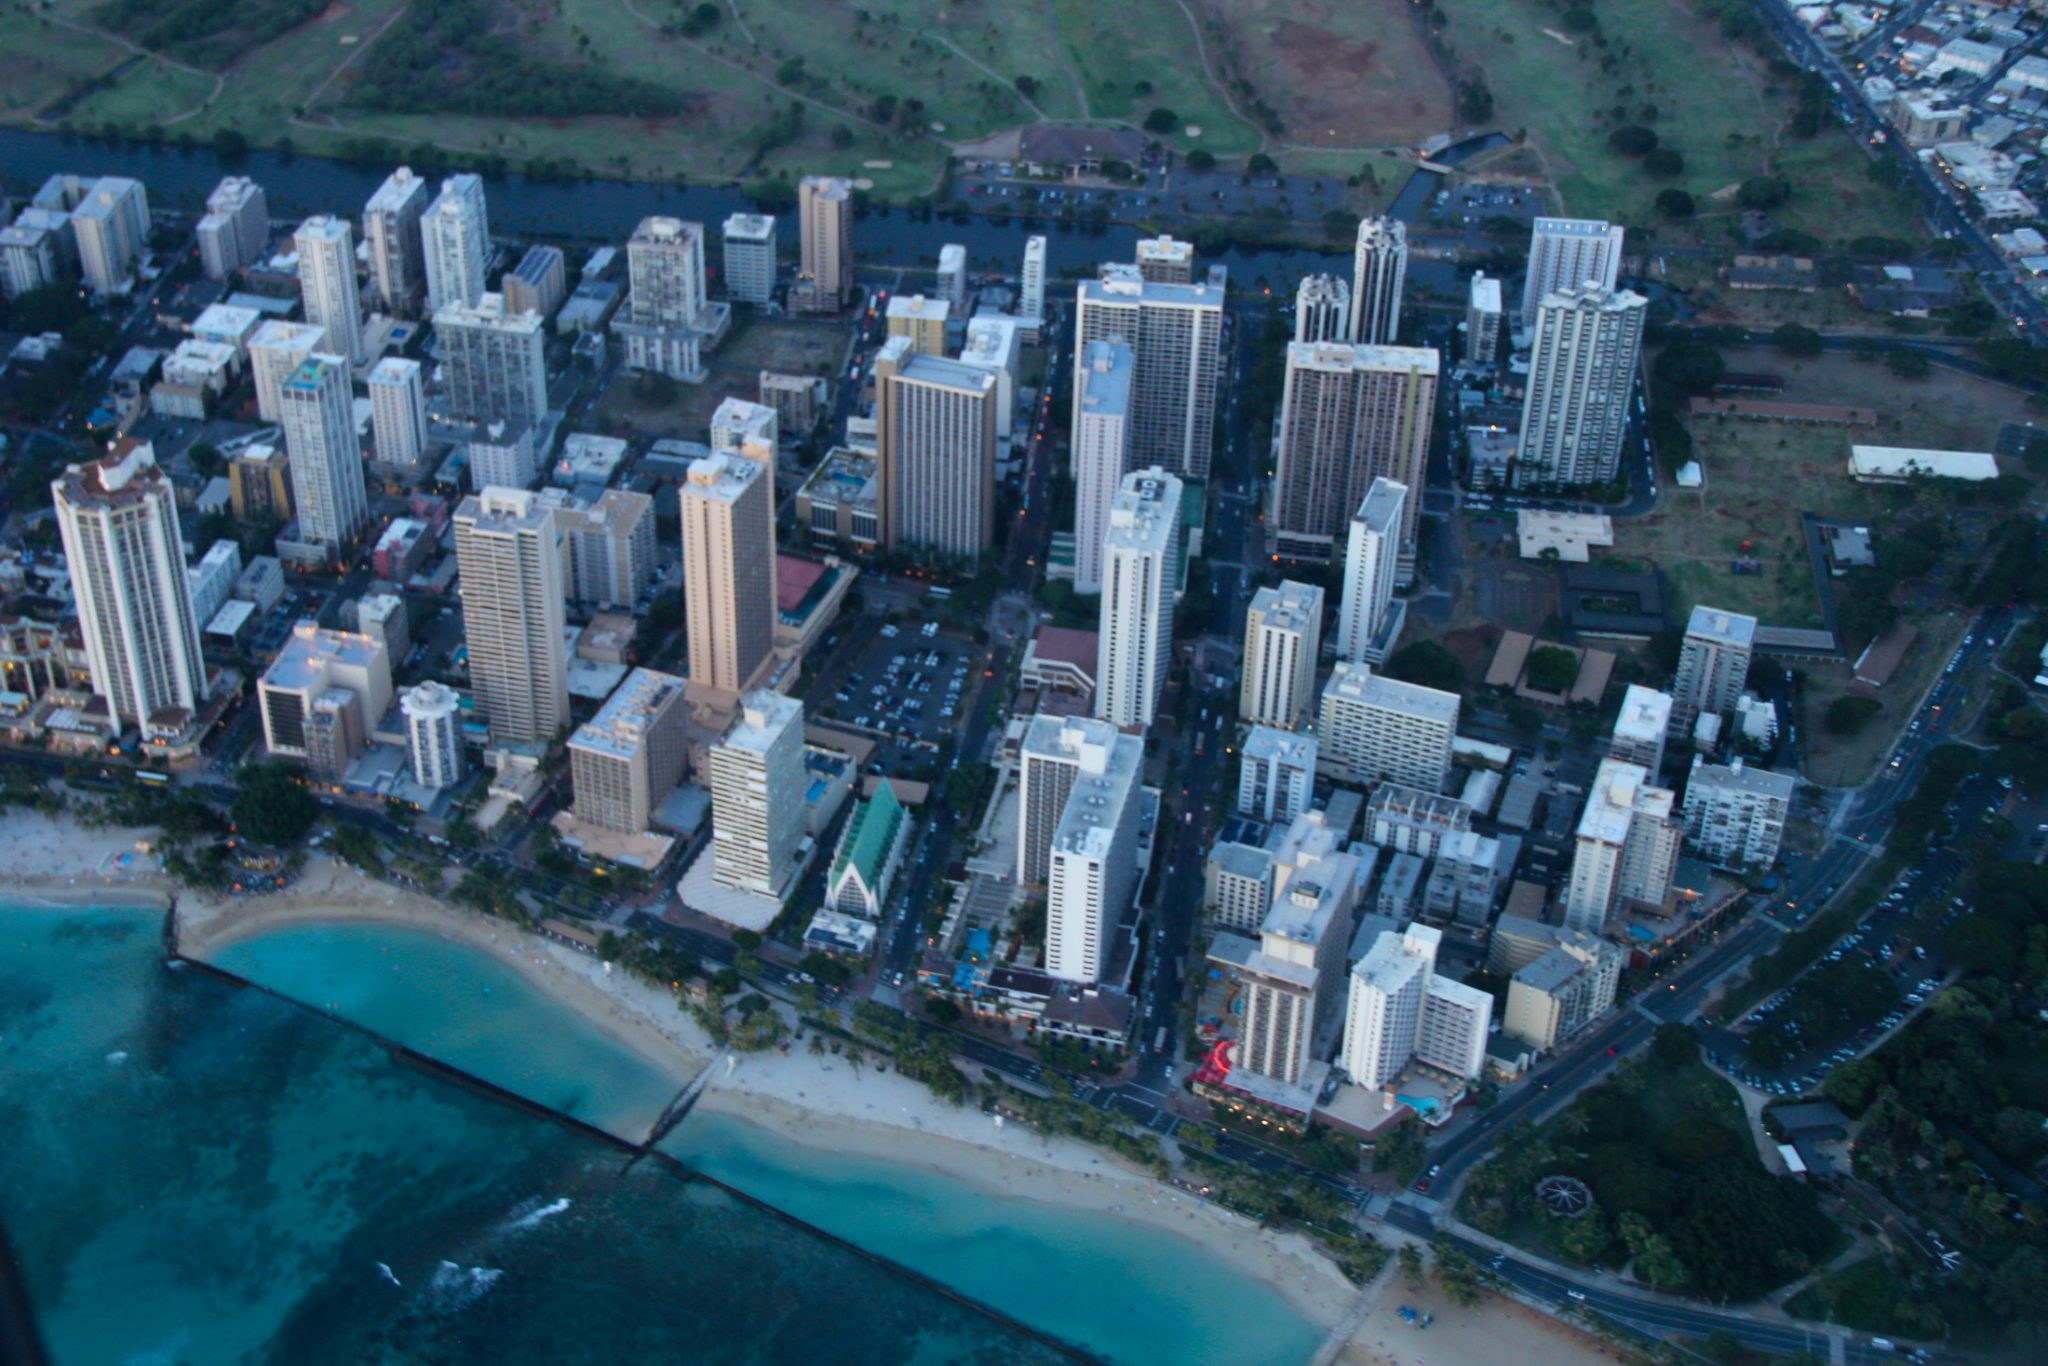
Flying over Honolulu, Hawaii
Don’t forget to share your window seat photos on our Facebook page!
Trackbacks/Pingbacks